 Tasks
Tasks
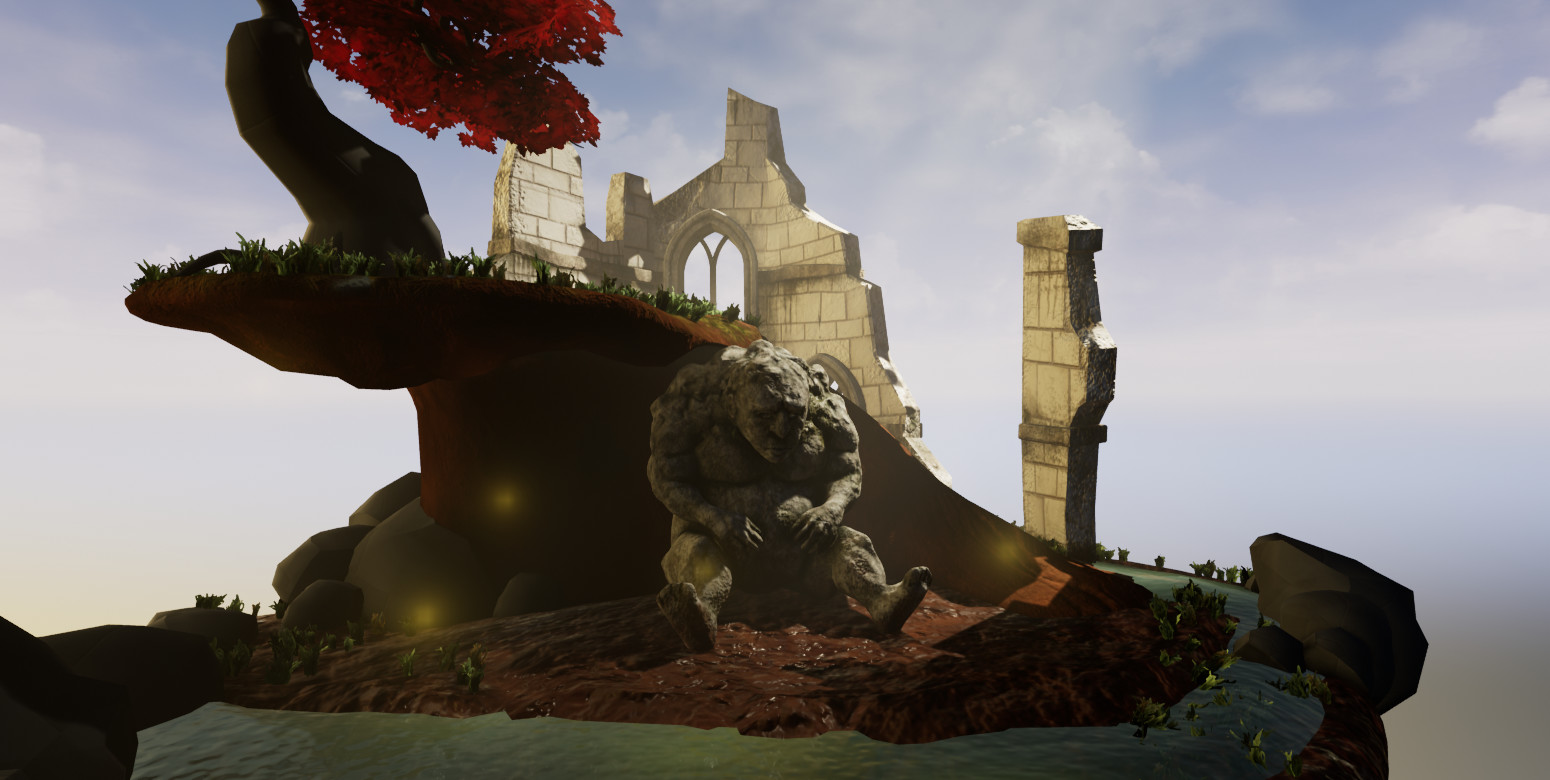
This week I was aiming to have everything textured, including some foliage for my tree and making brand new materials to use in my scene. I managed to do most of this, get a water effect in place and start on my lighting!
Tree Foliage
So far this has been the most satisfying thing for me. It was a bit of a learning curve after the class introduction and after doing a bit of research, I went off and experimented a bit.
Once I had the base of my tree trunk and branches in place I was toying with the shape of how to place the leaves. I found that an overly dense sphere shape using the shrink wrap tool in Maya looked really unnatural, instead I used shrink wrap for only a couple of bunches of leaves and then used my various plane meshes to flesh out the fanned like shape of the tree. This was a lot of experimenting and went through a couple of versions but I am content with the current version.

Initially I used a lot of different meshes to build up the leaf density, however this made my poly count way too high (see bunches of leaves in middle of image). I saw how I liked to group these together and then made a new photoshop image file that mimicked this and then distorted the plane (bottom right of image). Using this new lower poly plane I made the base shape of my tree and used a variety of the smaller branches I made to make the shape more interesting to look at.
The leaves themselves were all made in photoshop, including AO, SSS and I still need to add my normal map to finish it off. I placed them all in unreal and added a grass wind node to make the leaves look like they were blowing in the wind slightly.
Materials
I followed along with a few more tutorials by Get Learnt to create my base grass texture. I went back and tweaked my settings to be more suitable for my scene, in this case more dense grass. I'm still not 100% happy with this but it will do for the time being, if I get time I will come back and edit this more as after analysing how grass textures are approached in games like Red Dead Redemption 2 I would prefer to go this route. It tried to colour match my grass tufts from previous blog as much as possible as well, but the styles are quite different so something will definitely have to change in one or both of these.
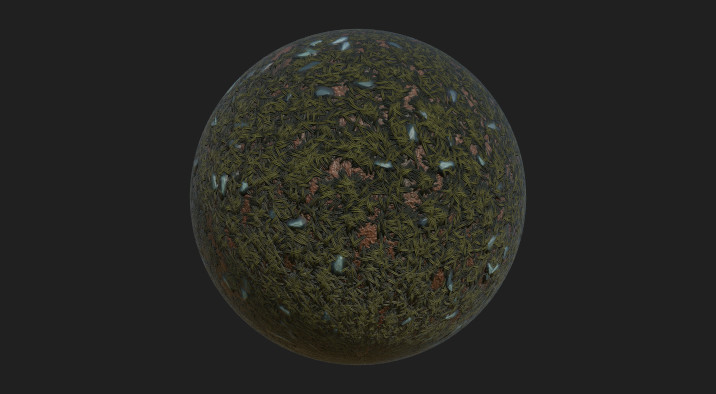
from tutorial with more grass
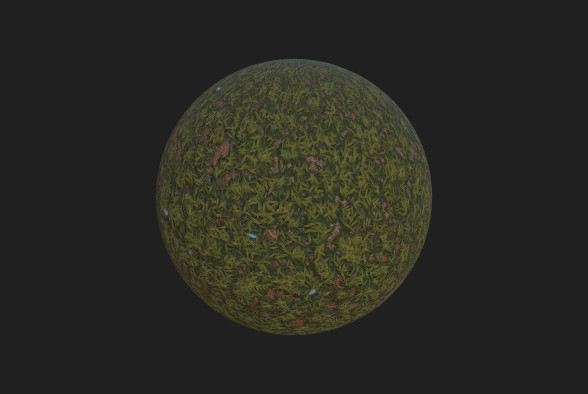
Edited for scene, less rocks and brighter colour.
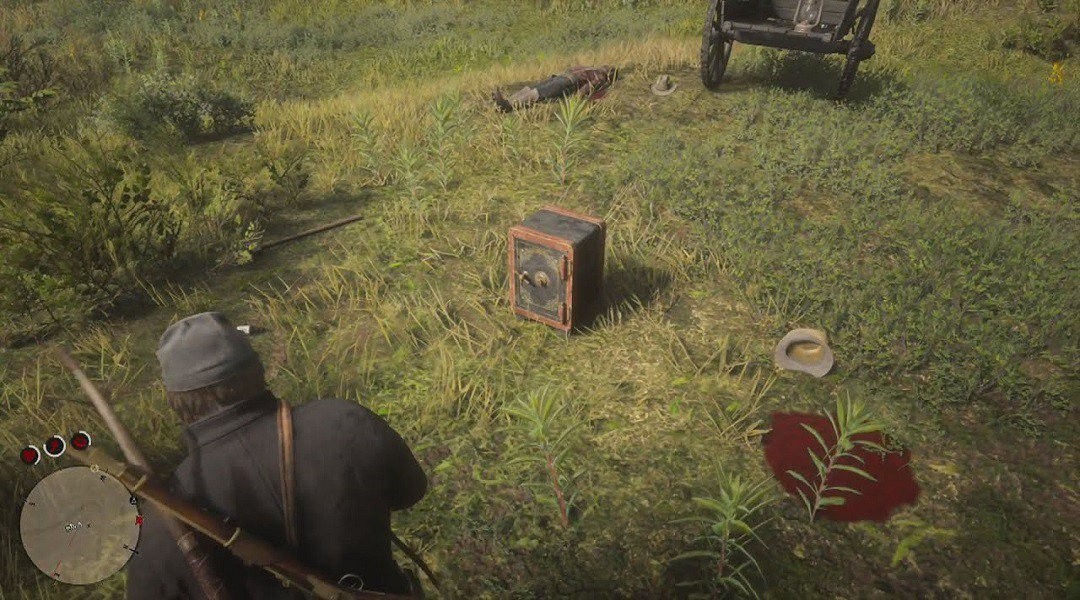
I noticed in the Red Dead grass the under-layer is not as detailed or outlined, allowing the grass on top to do most of the reading that it is grass.
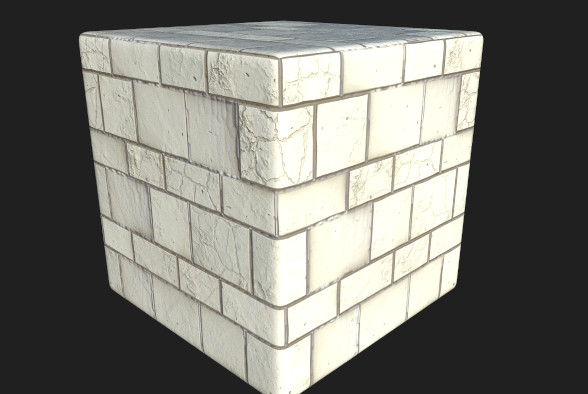
My next base material was the limestone for my ruins. I chose to stick with limestone because it had the bright contrasting colour choices I wanted and I decided to make this brick to make the object look more interesting. I started to make this texture by myself with the brick tutorial in the background as a reference point to see if I was on track, turns out that although I had the right idea, the way they did it seemed much better so I changed it as I went and edited thing to suit my needs for this project.
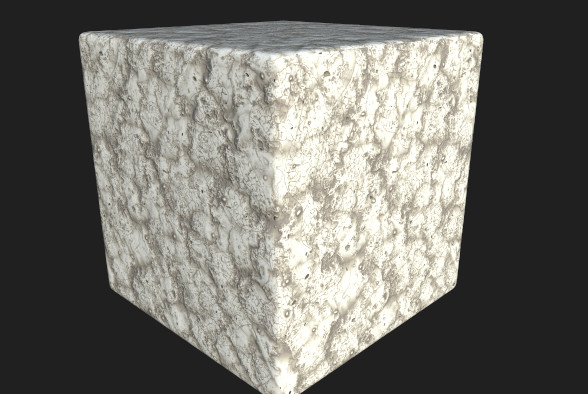
Using some of the base information from the brick material I made a worn limestone material to use as an in between rubble look for my ruins. This was a bit more tricky for me as I was working more solo and only referencing my previous texture to make sure they looked like they were the same kind of stone. In hindsight I think I went overboard with the deterioration of the stone and there could be more variation in the colour.
Texturing
This was a bit more complicated. I went into zbrush to try and sculpt what I needed, but I quickly grew frustrated with this and felt like with the limited time I have left I would be better off sticking to what I felt comfortable with for this particular mesh. I therefore tidied this up and combined it with the grass plane of my scene. Taking it into substance painter I used my grass and a modified mud material from my previous blog post to make a new mudslide.
I used a hand drawn height map to create the look of the mudslide and a little bit of hand painting to lighten these areas to look like exposed ground and patches of grass that have been caught up in the earth. Although not perfect I think this will do for my scene at the moment.
As mentioned in previous blog, I was pleased with my ruins UV map layout, but I was worried that my resolution would be too low. After a quick test I can confirm that my hunch was right and I had to re-think. I still wanted to try and get them on the same UV as suggested previously. My shapes didn't match up perfectly but where I could I stacked similar UV maps and again tested these out. At first they didn't look too bad but the more I worked on these in painter the more disappointed I became.

In hindsight I should have kept the main ruins separate to the arch and pillar. That way I would have plenty of room to keep it separate and I would not have conflicting AOs and textures all over this. I have some weird anomalies that I can't quite explain either (after some investigation I believe this to be a levels node in substance painter) which looks like sections have been squared off which doesn't make sense. If I have time this will be my top priority to re UV and re-texture as I am severely disappointed with this result. However I did learn a lot through these errors and will be more prepared in the future. For now I will continue working as planned and hope that Ivy I intend to add will cover the worst of these texture errors for this project.
I also realise that it would have probably been more beneficial to distress this object in zbrush first and use that as a normal map rather than relying entirely on textures to do the work. Although i won't have time for this project I hope to come back and re-do this perhaps over the Christmas period and see what kind of difference this makes.
Water
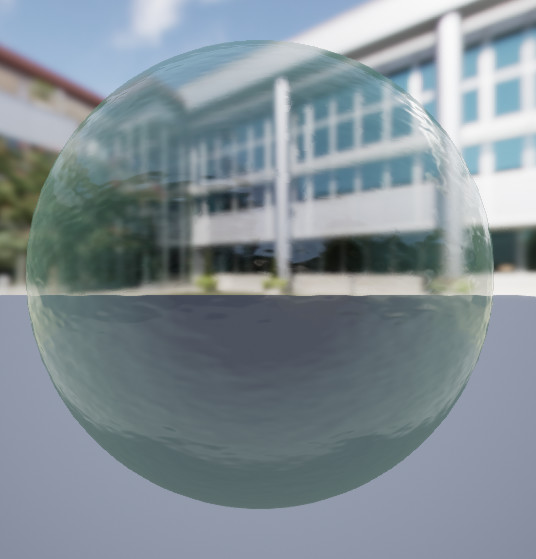
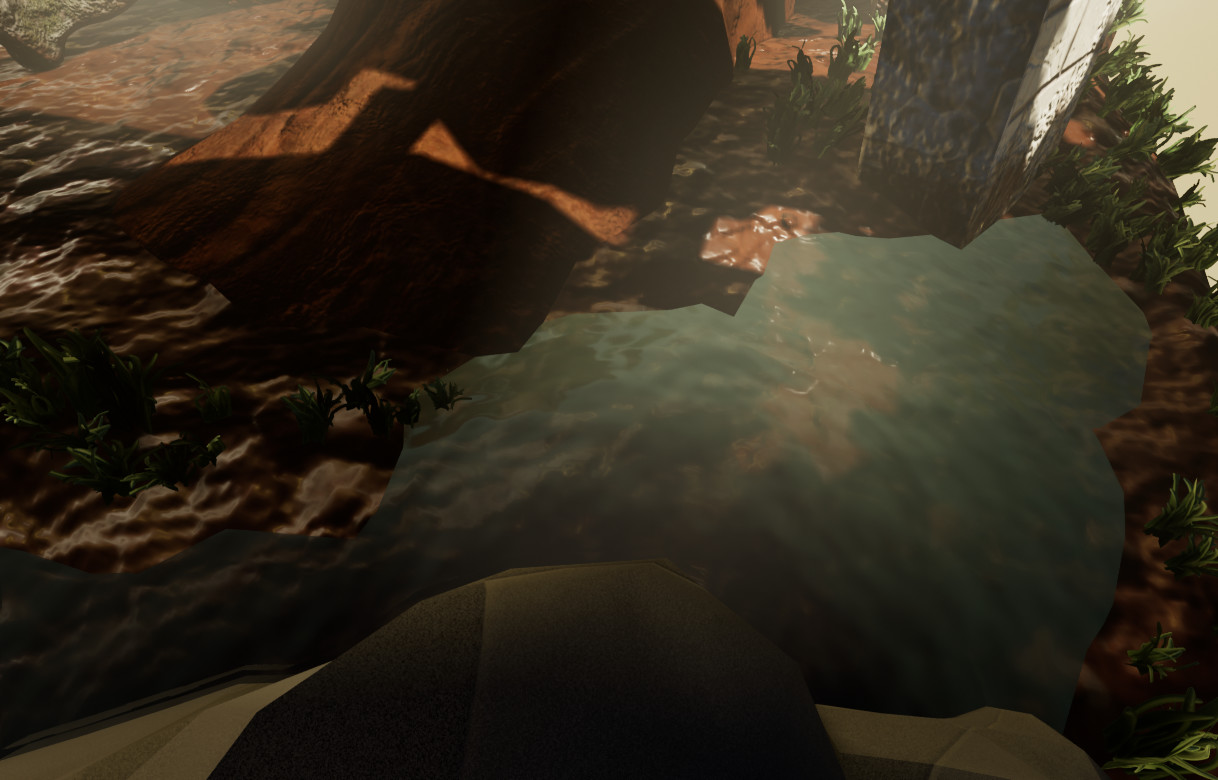
Upon hearing we were having a guest lighting artist come to give us a demonstration I rushed to get a water texture in place in my scene. I knew that with my bright contrasting ruin texture and the water would be key elements in brightening up my scene and therefore effect the mood and lighting. I followed Online Media Tutor - Water in Unreal to do this quickly and I'm really pleased with the results for this little scene. It will eventually be covered in leaf decals anyways!
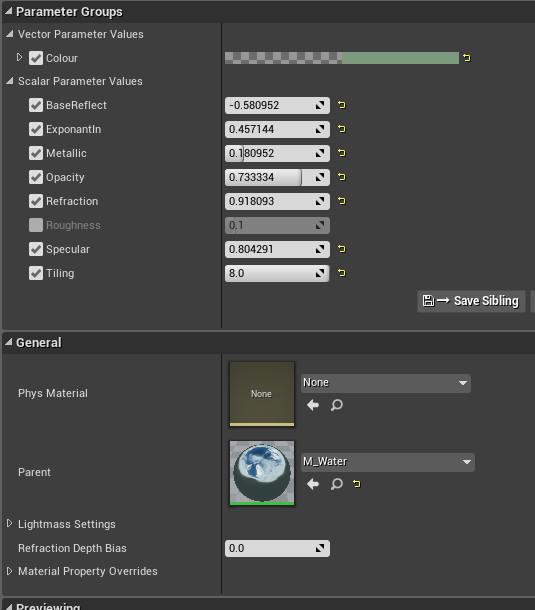
Although using an instanced material and parameters seems over kill for this small diorama project it has been really useful to me as I have been able to quickly make changes to my water in scene as I have played around with lighting etc to help enhance and change the mood and atmosphere.
Lighting
We had guest tutor Oskar Woinski a lighting artist from Splash Damage come in and walk us through lighting a scene and his work flow. I was lucky enough to have him check out my diorama and although all I had was a sky light in place he started to walk me through how to create god rays for my scene. This was really excellent and reassuring as his ideas and suggestions were things I had already outlined in my concept art and were similar to what I had in mind so I felt like I was on the right track. Now it was a matter of how to achieve these results!
When I got home I started playing with my settings more and using fog and hidden tree meshes to create god rays throughout my scene. Oskar had suggested I use a directional light rather than what is usually used because of the shape and size of my scene. My only issue at the moment is the light seems intense and the fog too dense whilst walking around the scene but if I tone these settings down I lose the god rays. So it's something I still need to work on.
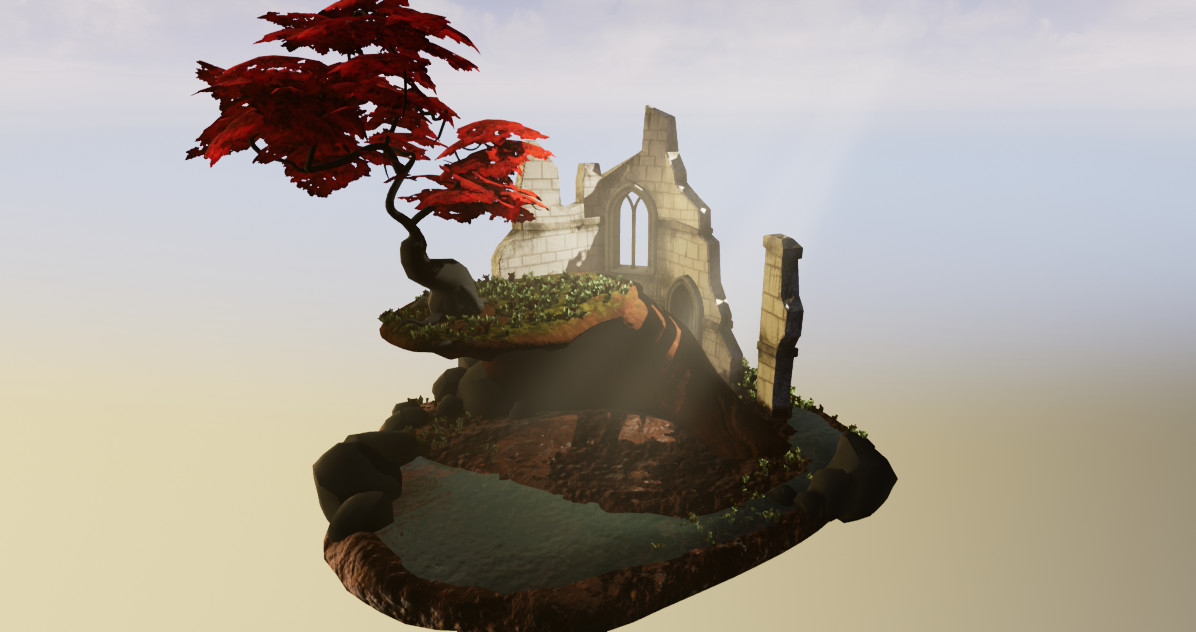
There is still a lot of contrast which isn't helped by lack of final textures. I will focus on finishing this first before more lighting tweaks but hope to maybe add some water reflections on the underside of the grass plane to brighten up that area a bit without distracting from the main focus.
The Troll
After the lighting lesson I knew it was really important to get the troll in. I cleaned up some of my zbrush sculpt but decided to leave putting too much detailing in the hands and feet for this particular project. I needed to get him posed and in the scene asap!
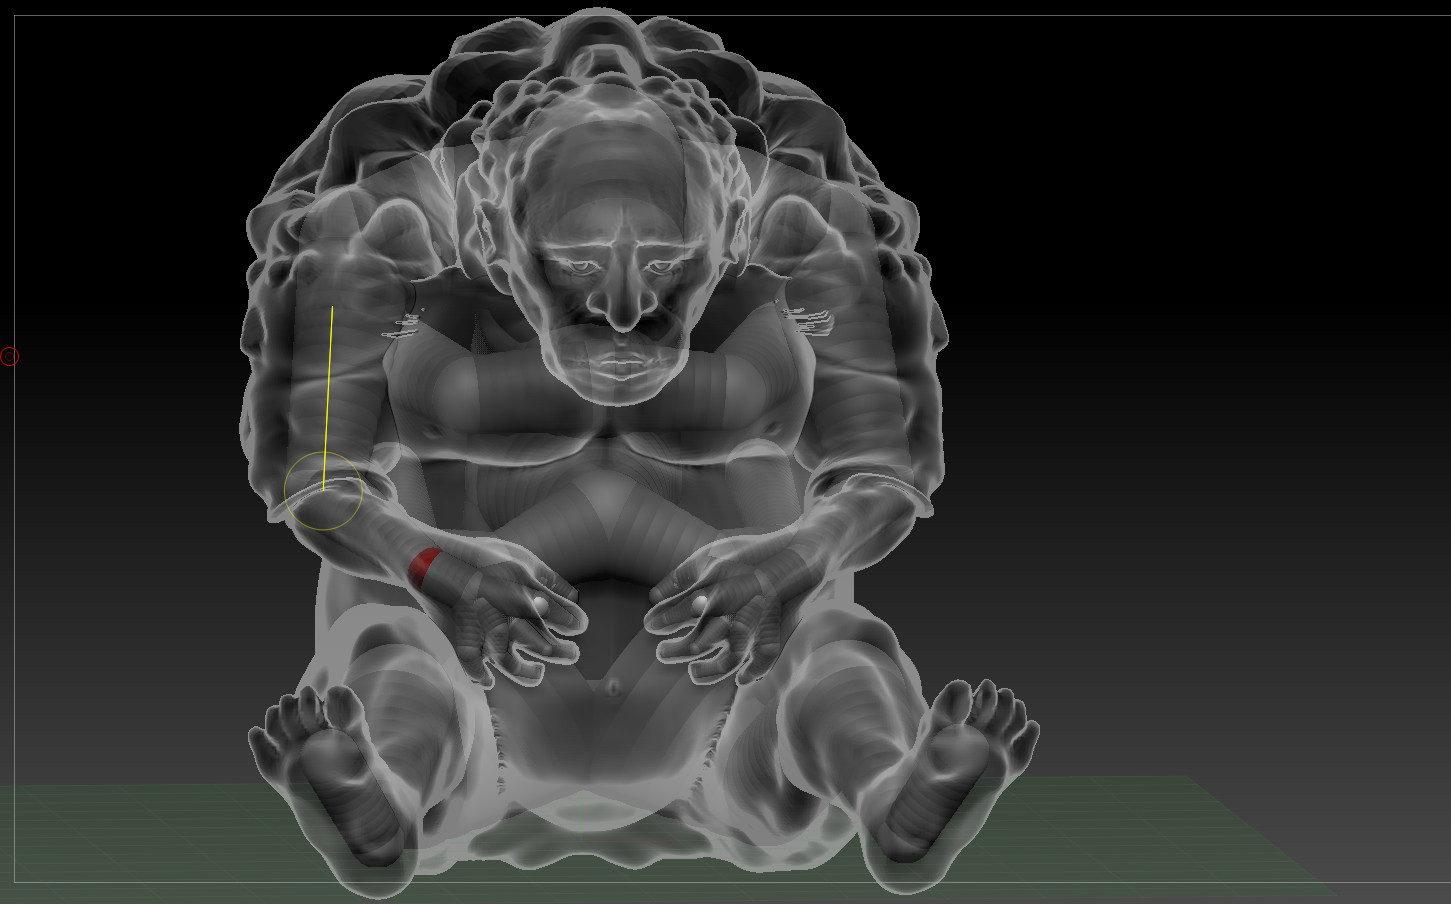
I used the rigging tool to build a rough skeleton inside my troll. I put in a little extra such as individual finger bones and rib cage and legs just in case and I'm glad I did! This warped the sculpt more than I expected and I had to do a lot more sculpting afterwards to fix it. I posed him to something similar as the above image.
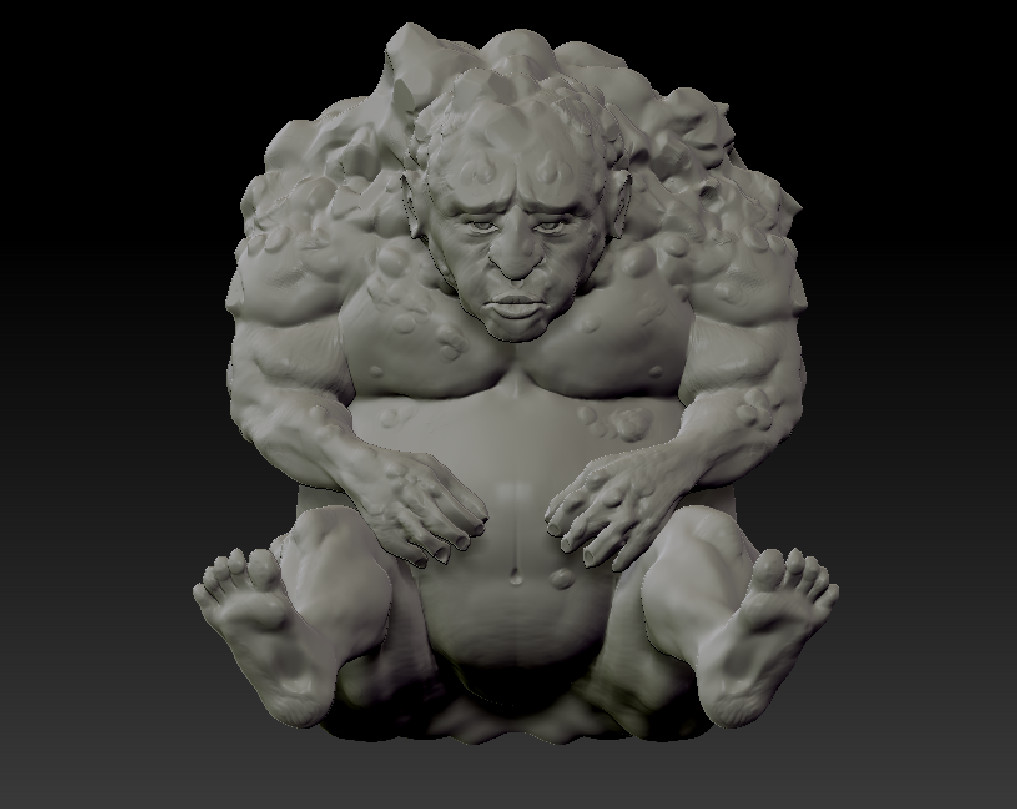
This was my final high res sculpt and pose of my troll. I used Zremesher to reduce the polycount down to around 12k polys and then projected this high res sculpt onto the low res in substance painter. It wasn't very pretty as again I struggled with strange AO's that made it look like things were sticking out where they shouldn't. In particular around the hands. If I were to do this again I would keep the hands in a block like shape instead of individual fingers like above, the feet actually turned out better than expected. I also had some weird patches in the armpits from overlapping geometry and the eye balls disappeared.
As I am on a tight schedule at the moment I had hoped to hide as much of this as possible with textures.
Once in the scene though a lot of these flaws are hidden because of the lighting and looks better than expected.
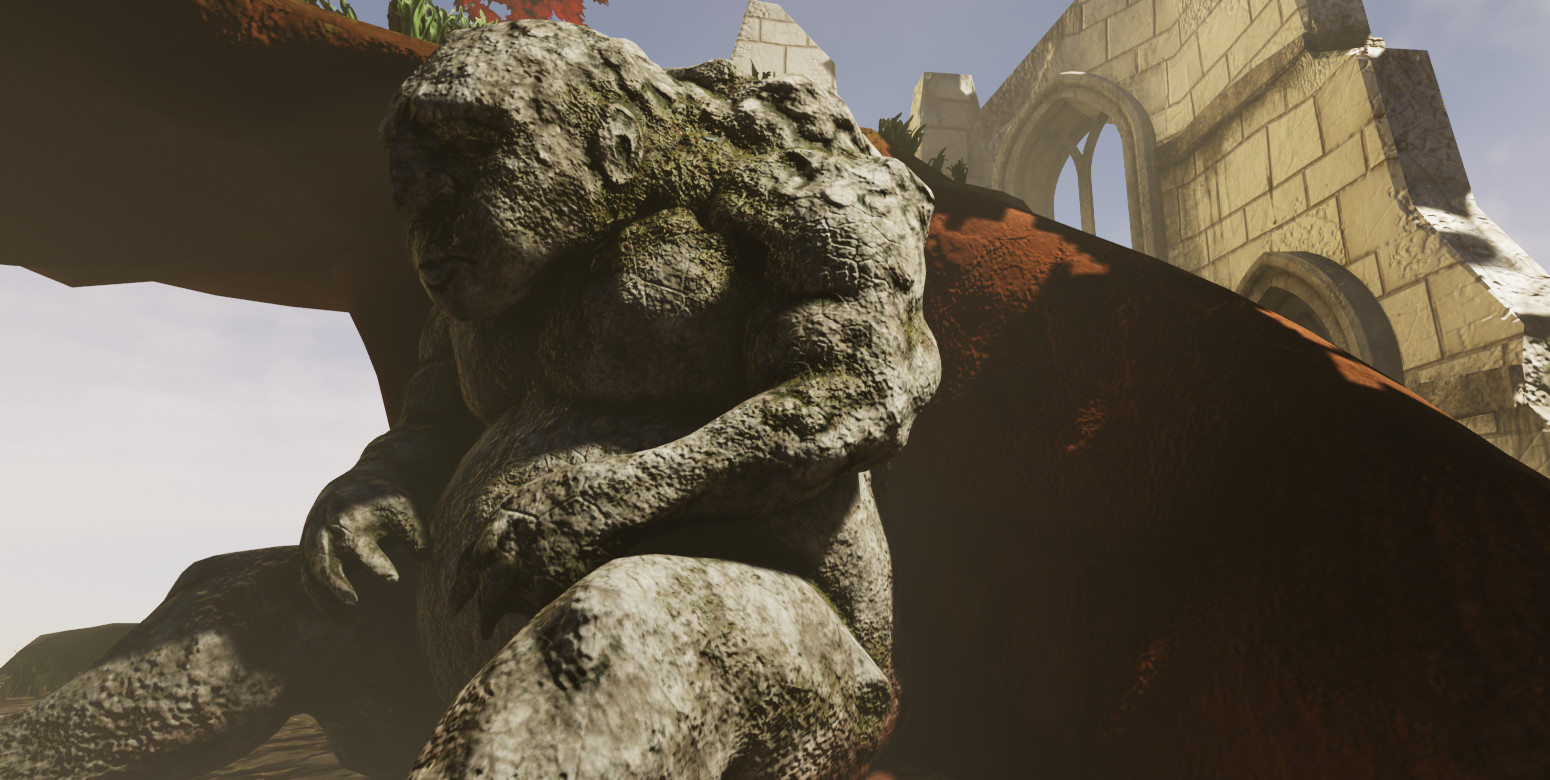
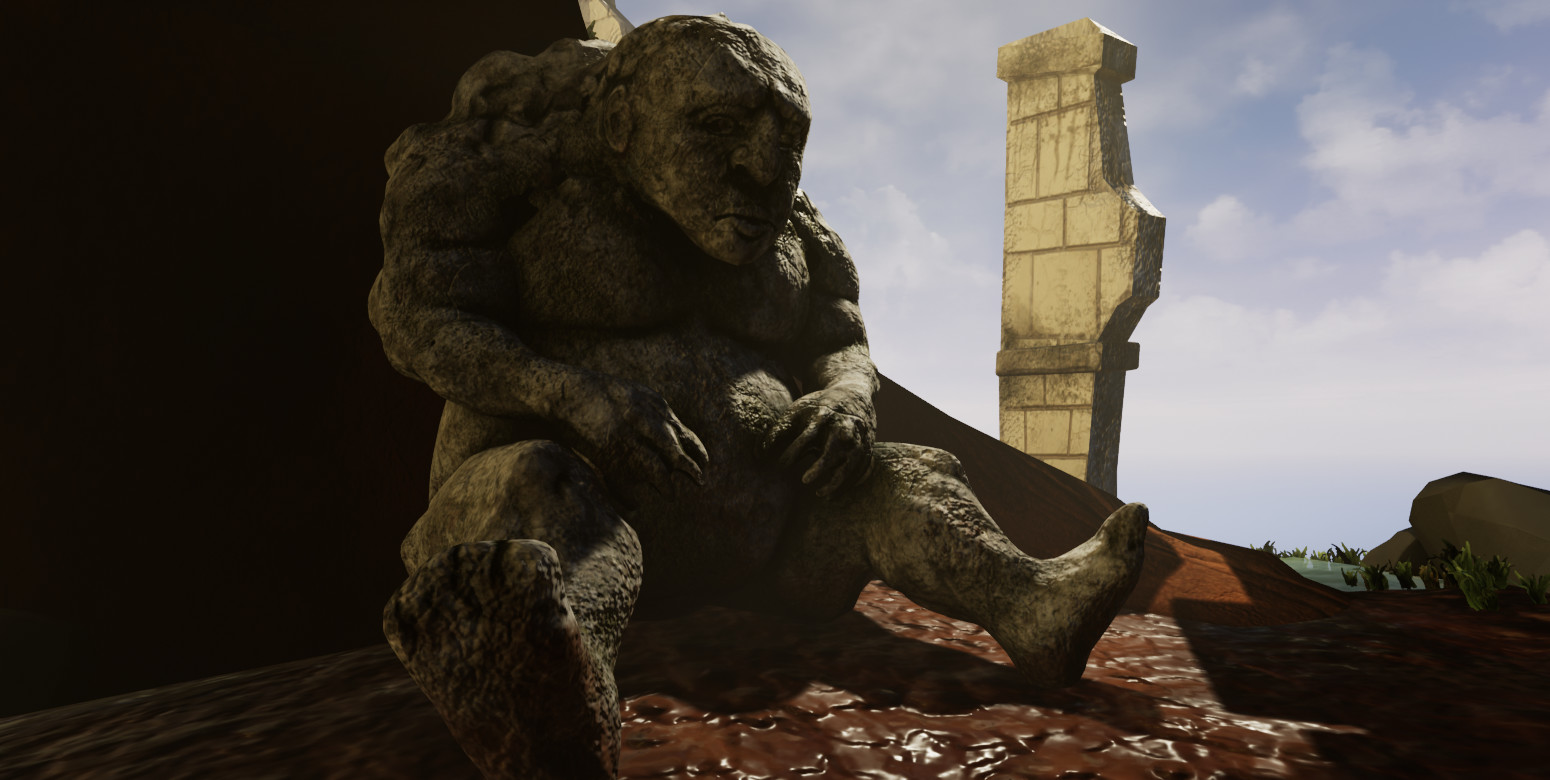
As my eyes have disappeared on him I'm thinking about using spheres in unreal and create an emissive texture with a gemstone alpha to make it look like it could wake up at any moment. This will also help direct more attention to him in such a dark area of the scene.
Now my troll was in the scene again I toyed around more with the lighting and fog.
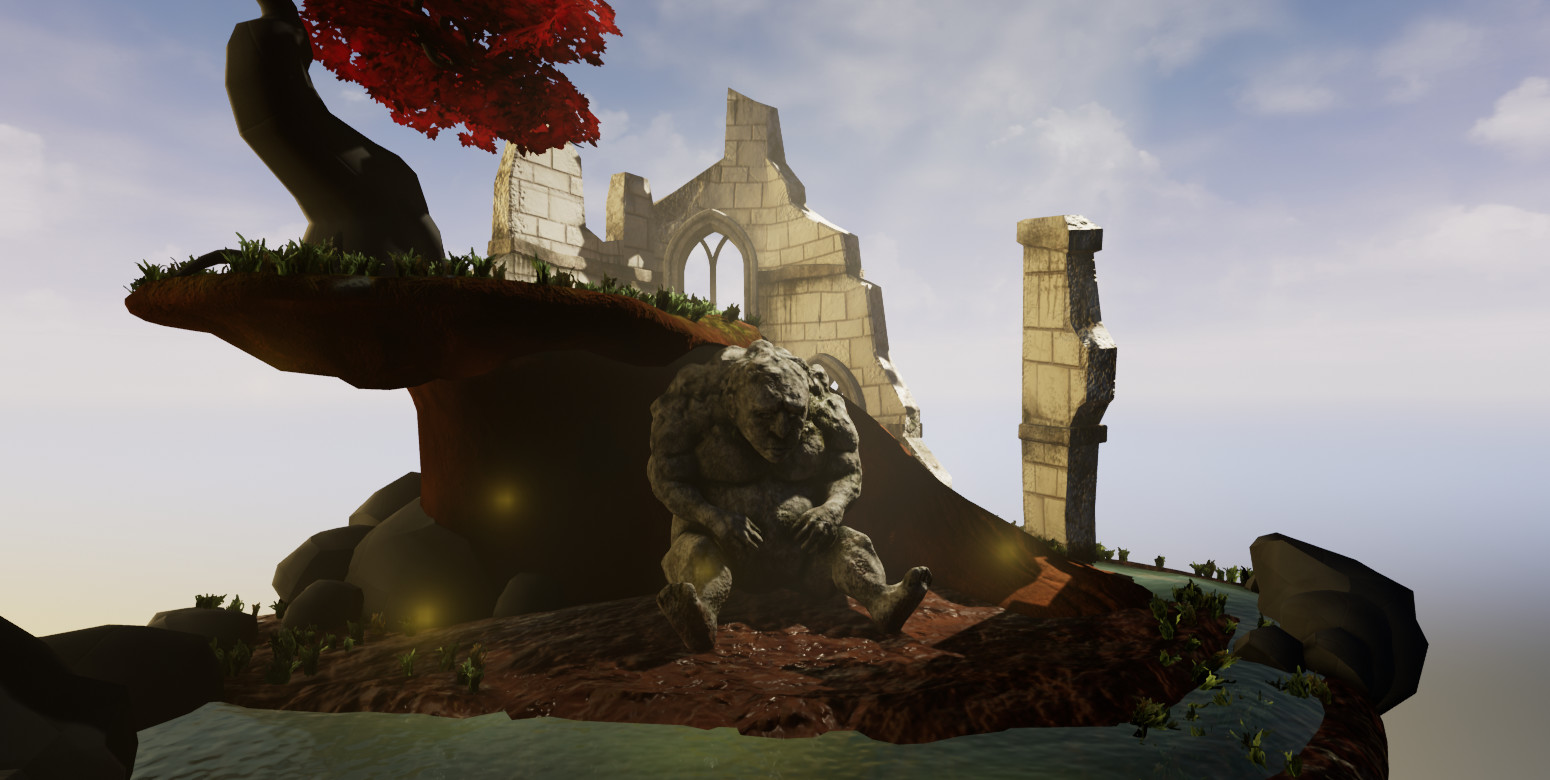
The fireflies are currently small point lights just to test the idea. I think I would prefer to do this as a particle simulation but it will be the last thing to add as I still have a lot of other things to achieve first!
This weeks conclusion....
I'm pleased with my current progress and hope that I can bring it all together and focus on fine tuning it's composition this coming week. There are still some textures I need to apply and fix up that need seeing to before I do anything else. These are the rocks, the diorama base and the tree trunk.
Other important items needing doing:
- Texture rocks - plan to use similar textures to troll to make them look like part of same scene, not confident this will look good though.
- Texture tree trunk - create bark material. A bit nervous how lining up material for tree trunks and how difficult this might be.
- Ivy - I plan to create some meshes of ivy similar to how I did the leaves for the tree to apply to the ruins.
- Fallen Leaves decals, to use around the scene and along the water
- Fallen leaves particle effects
- Add leaf normals to tree.
- Firefly particles if time/water effect under mound to brighten up that area.