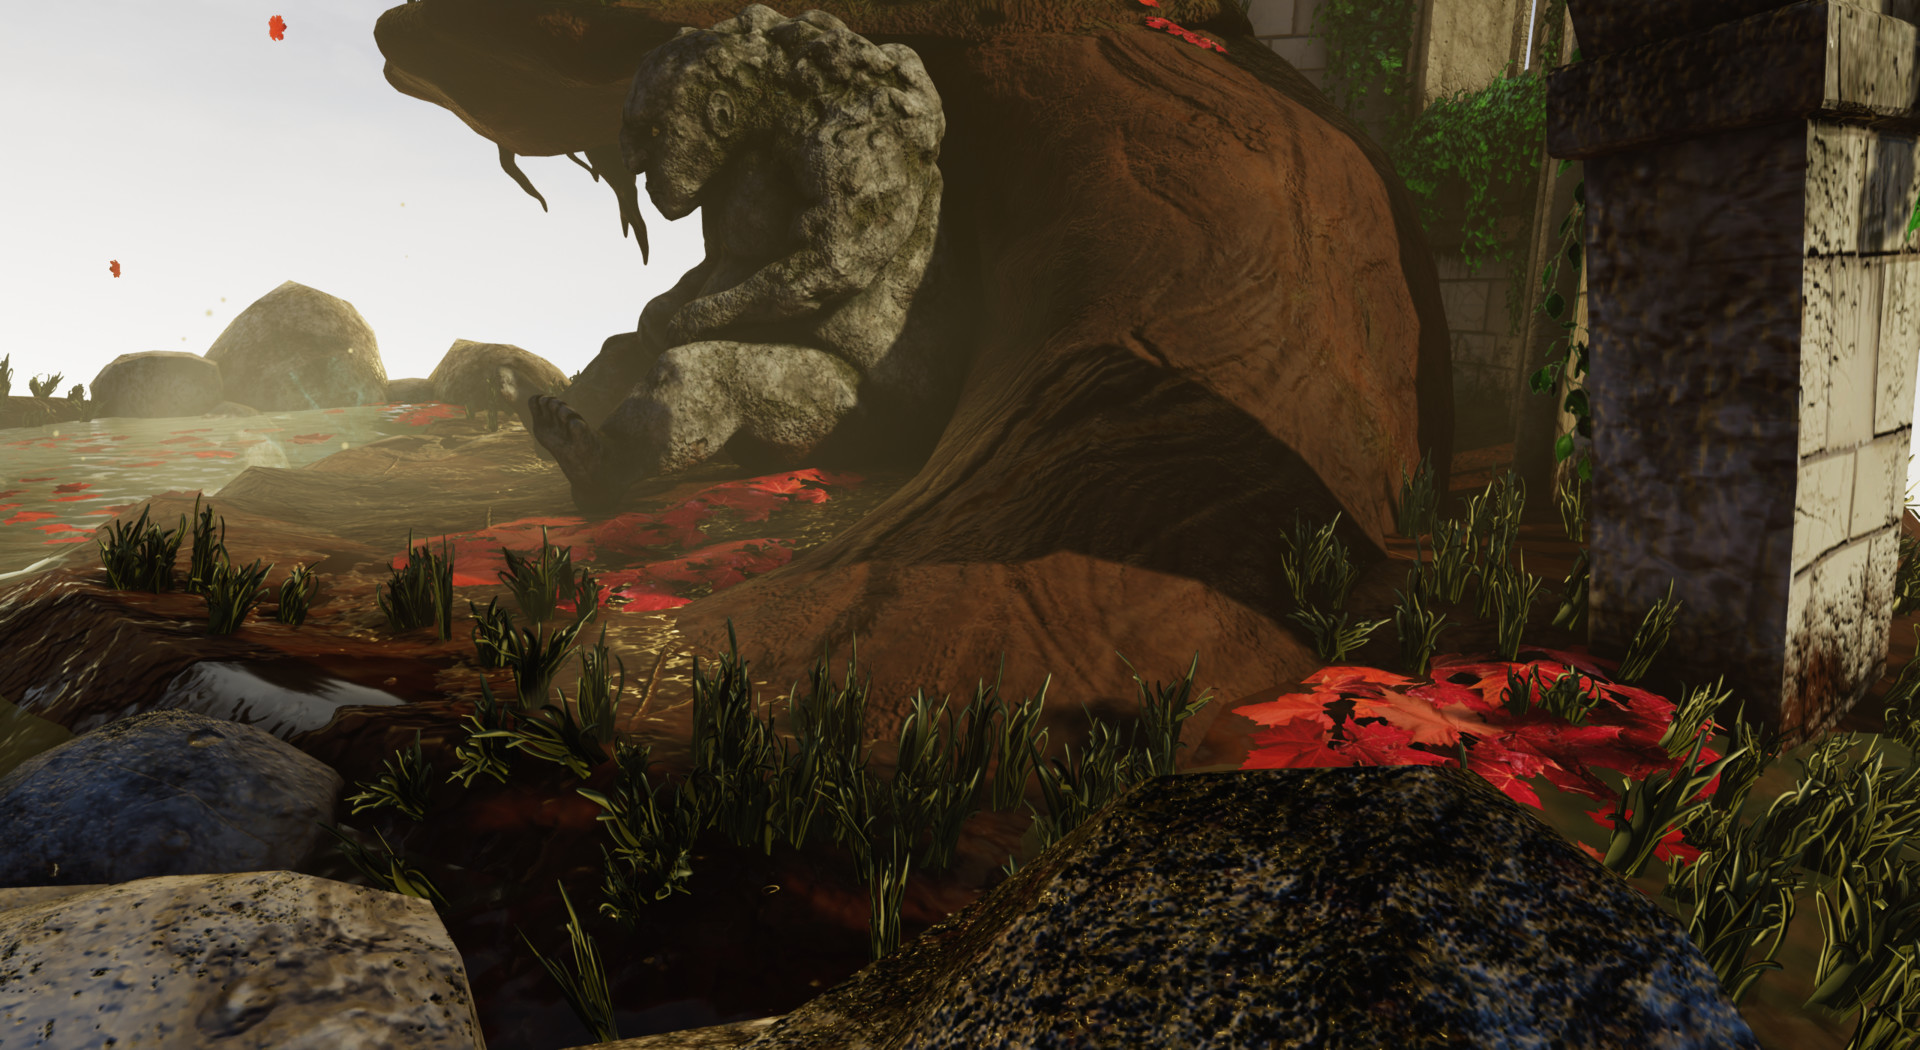
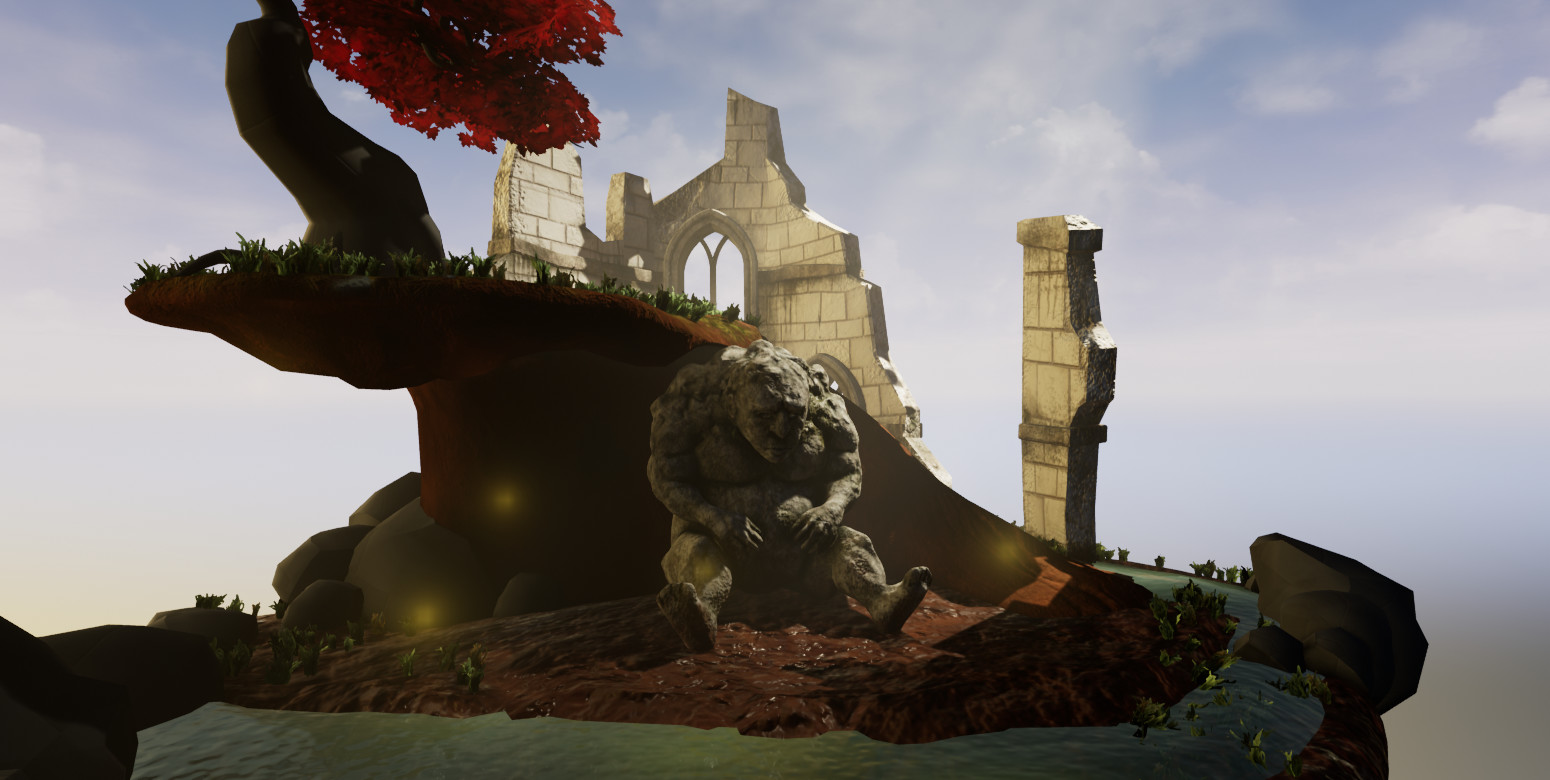
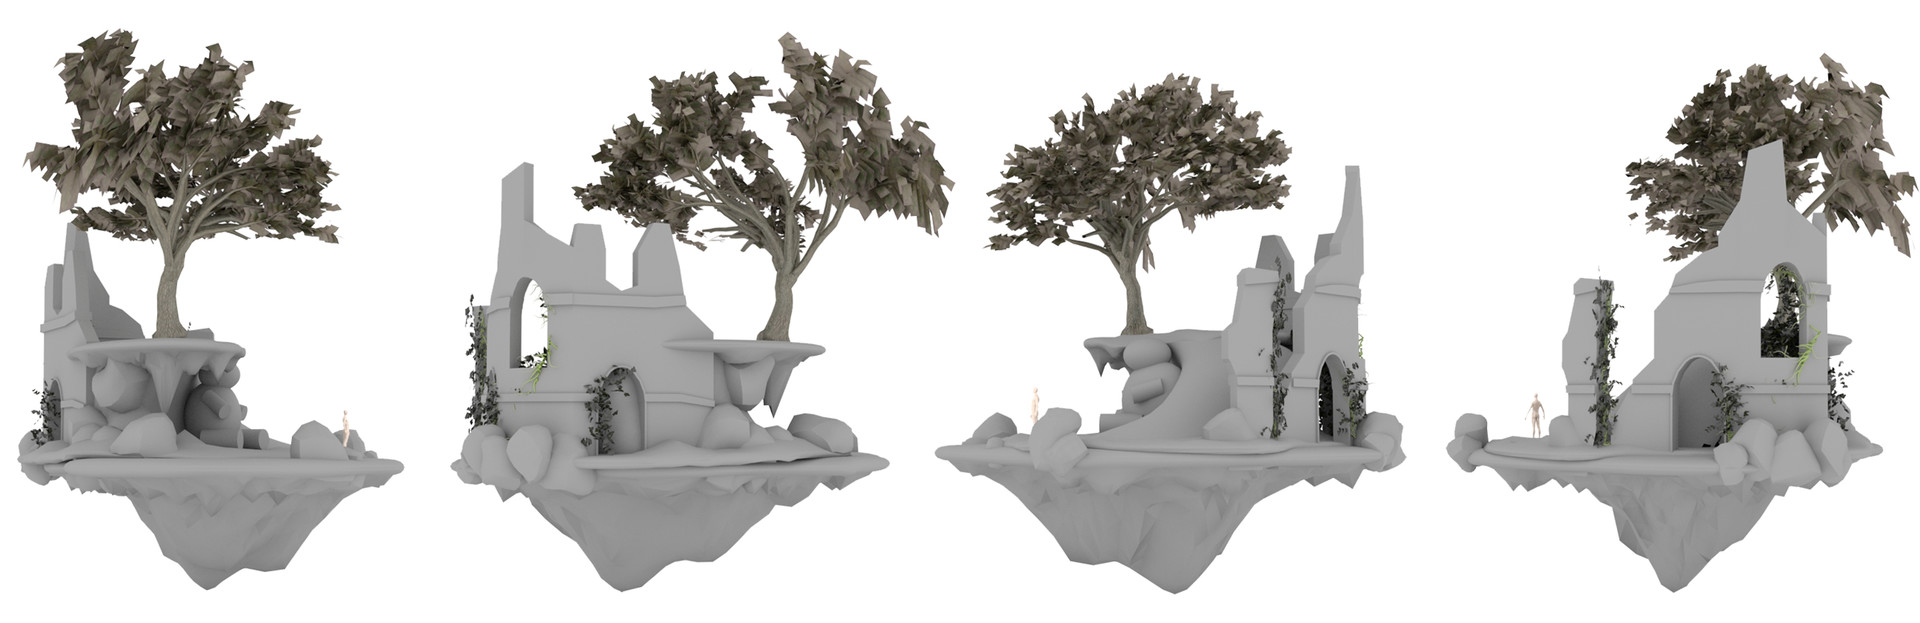
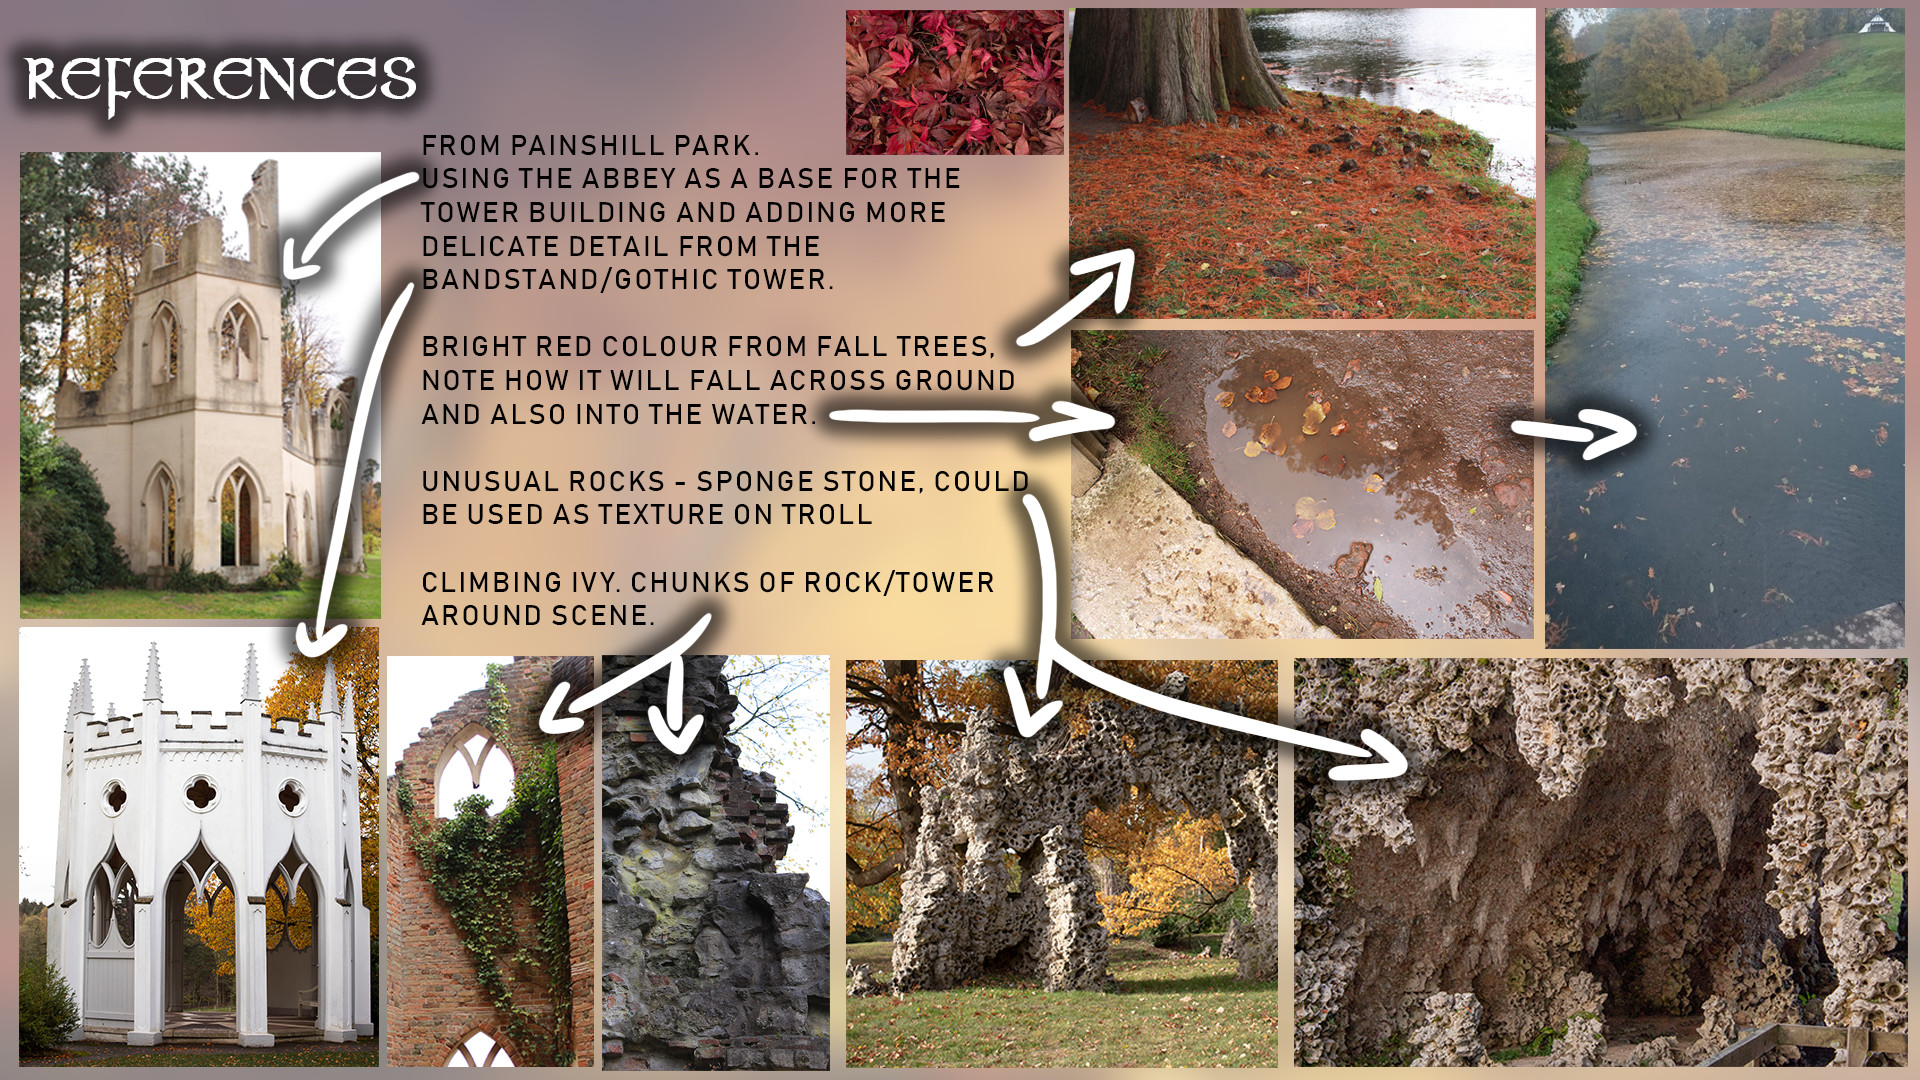
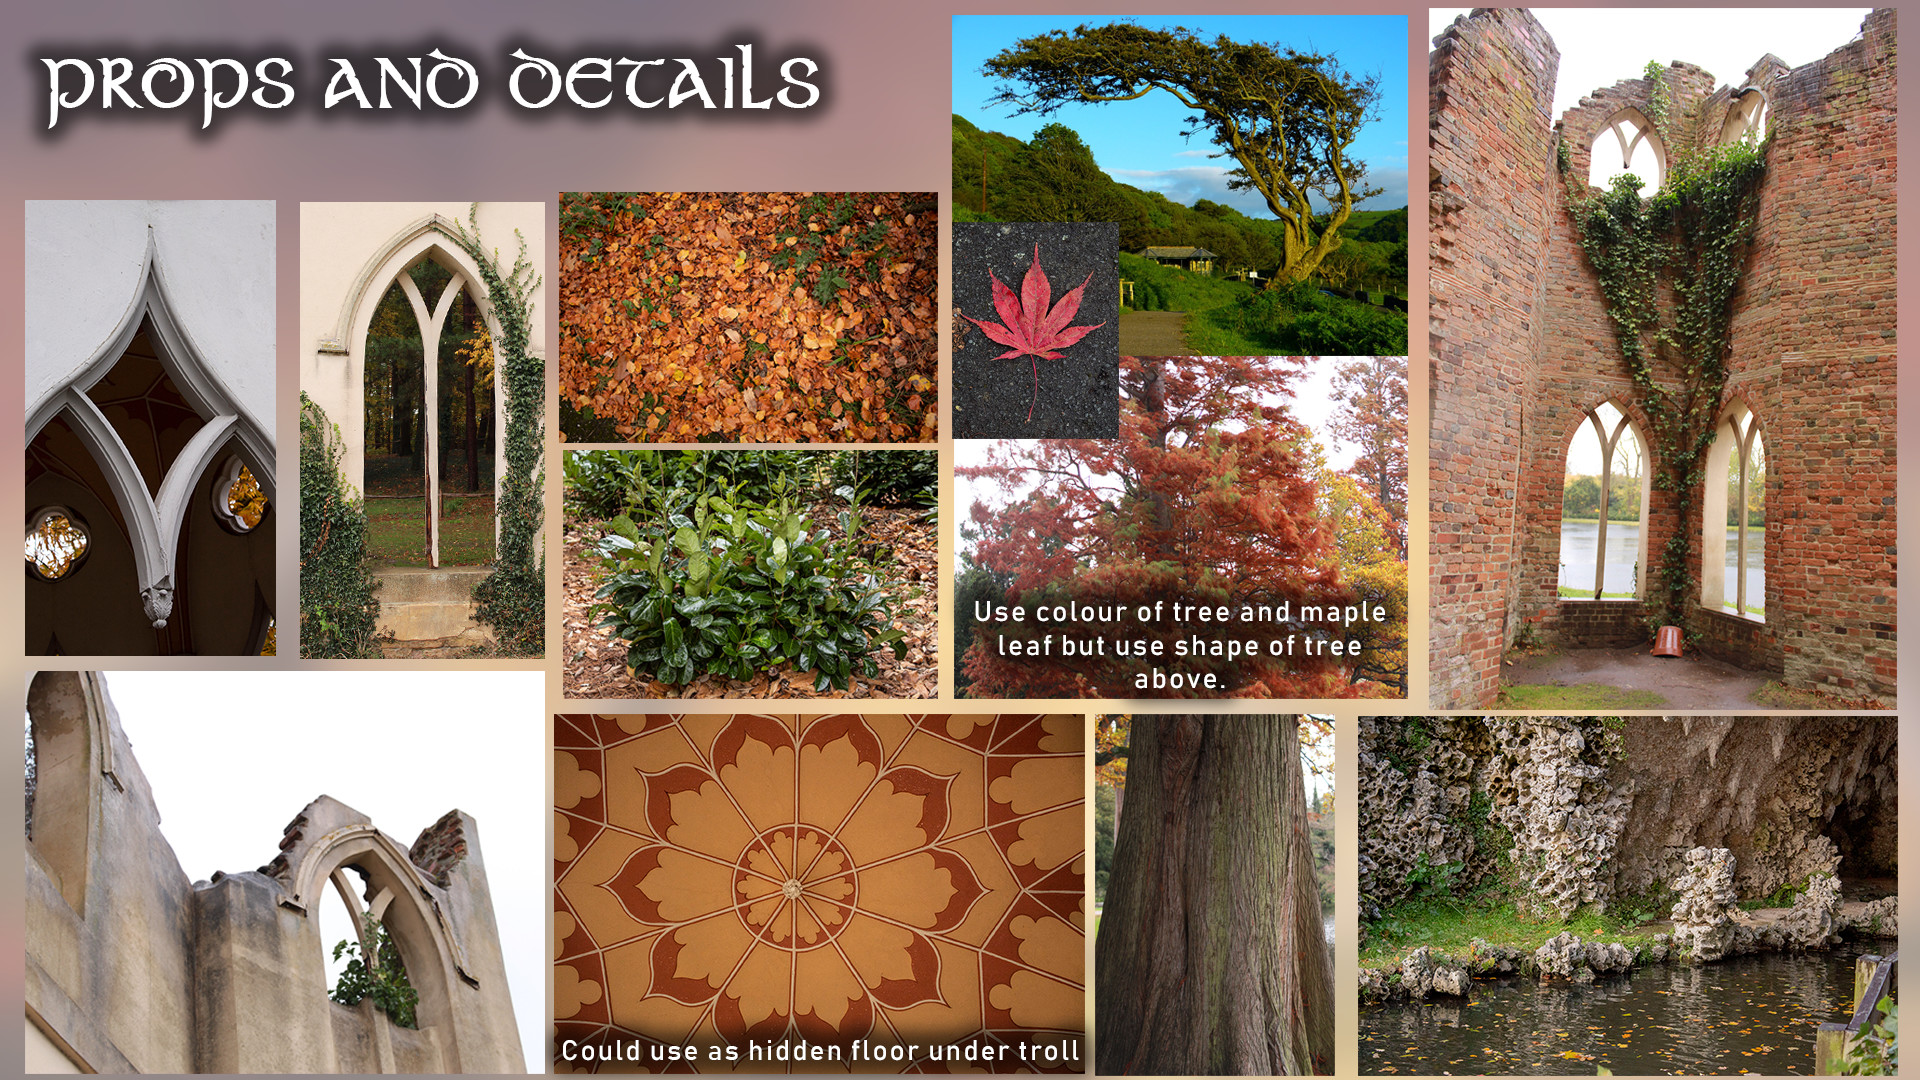
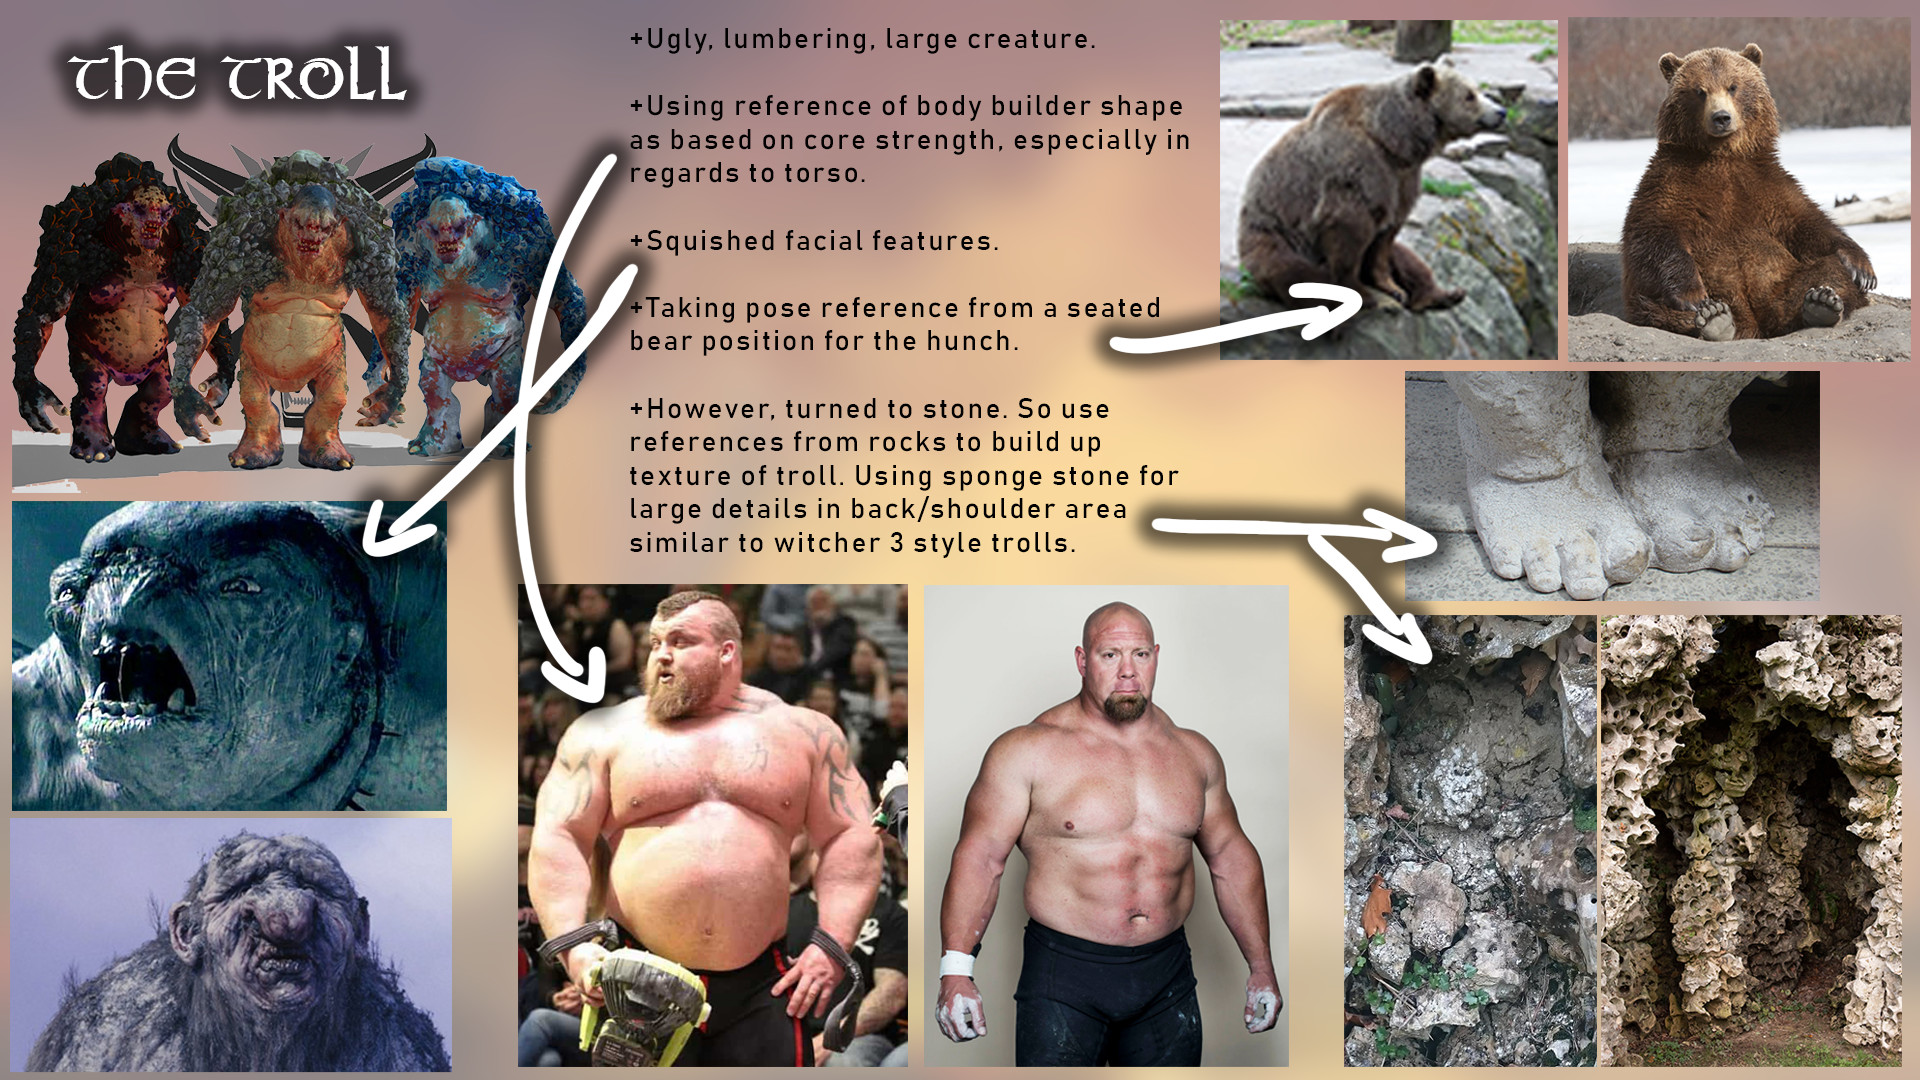
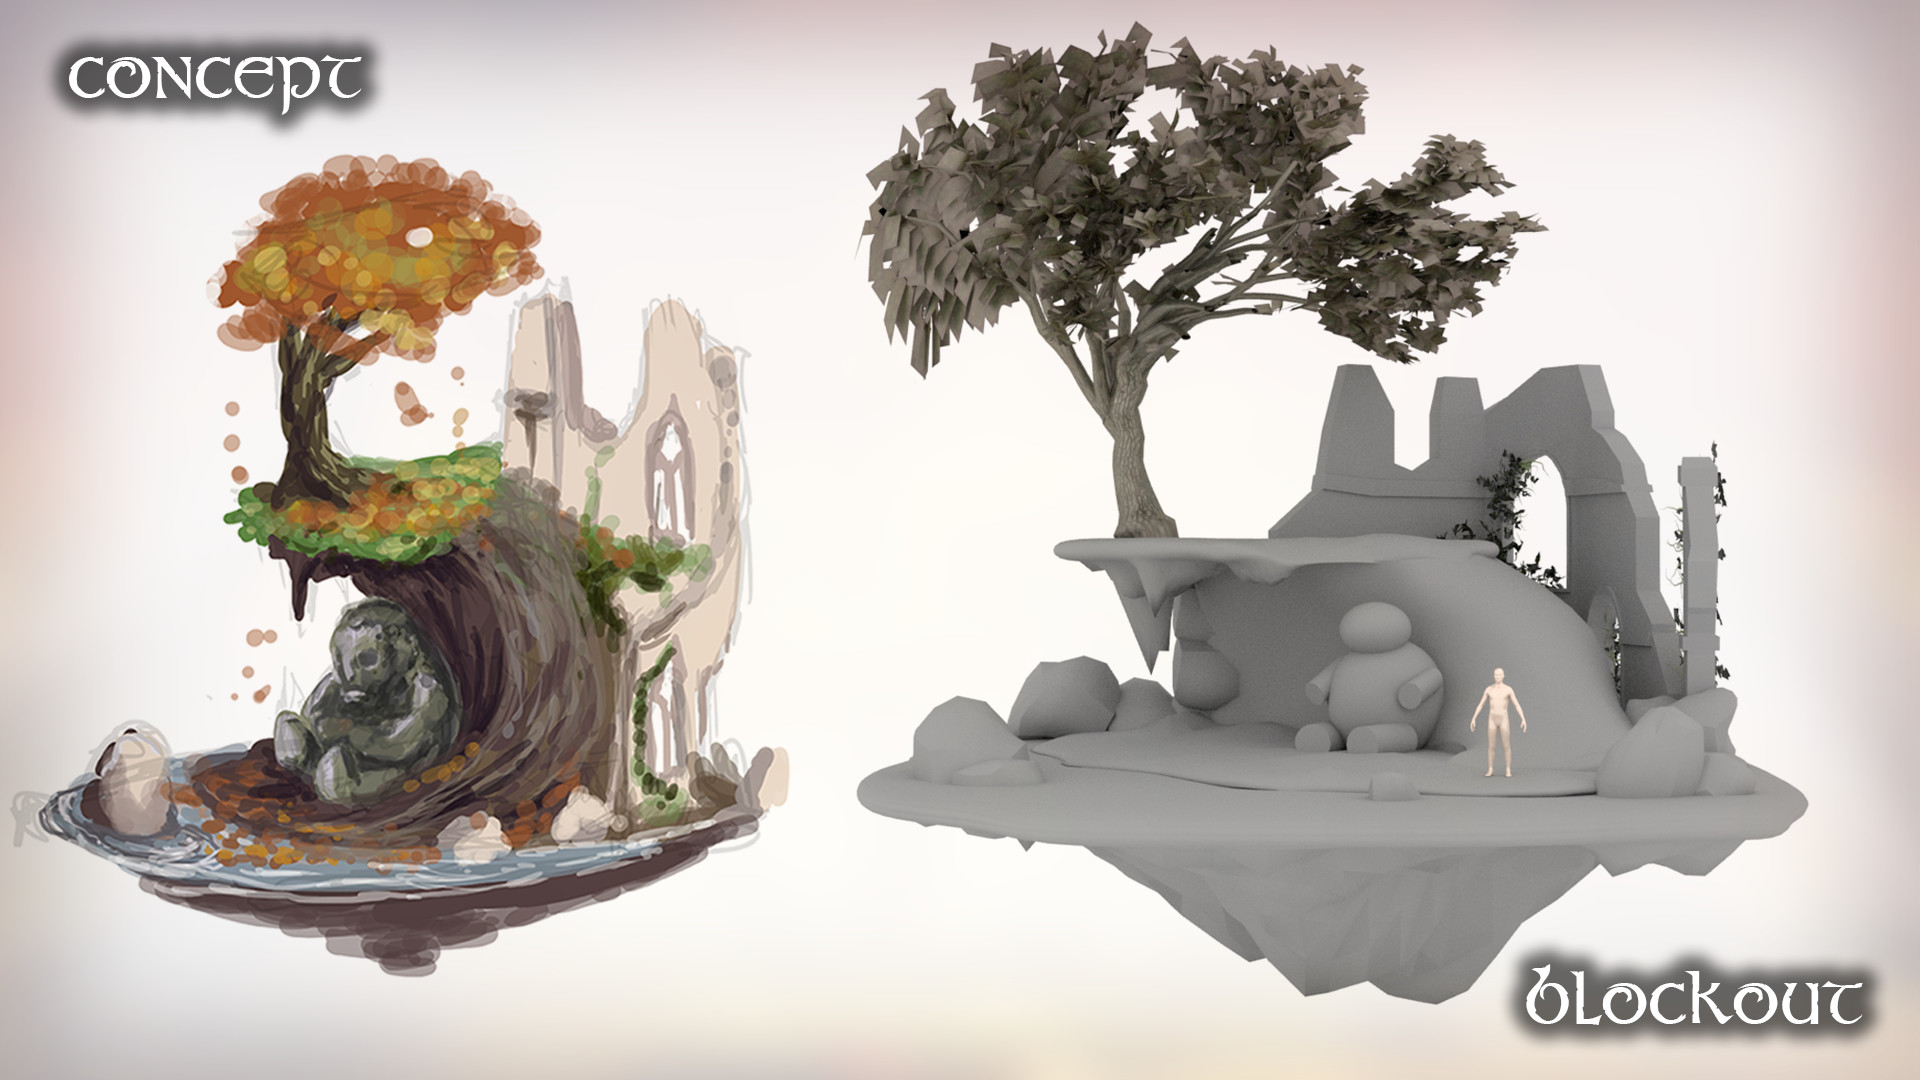
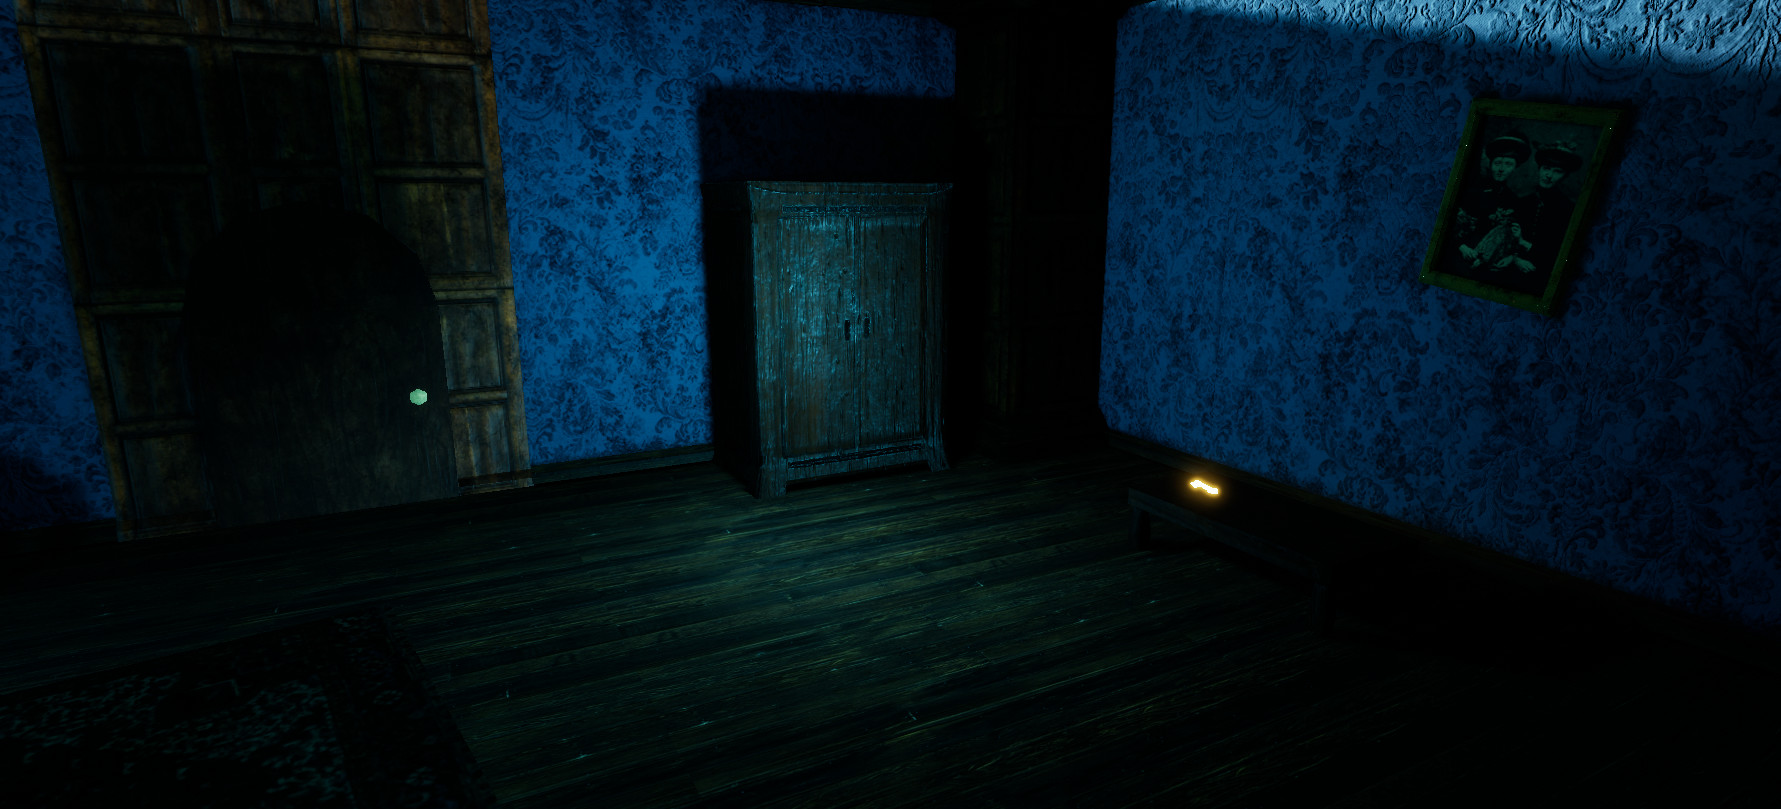
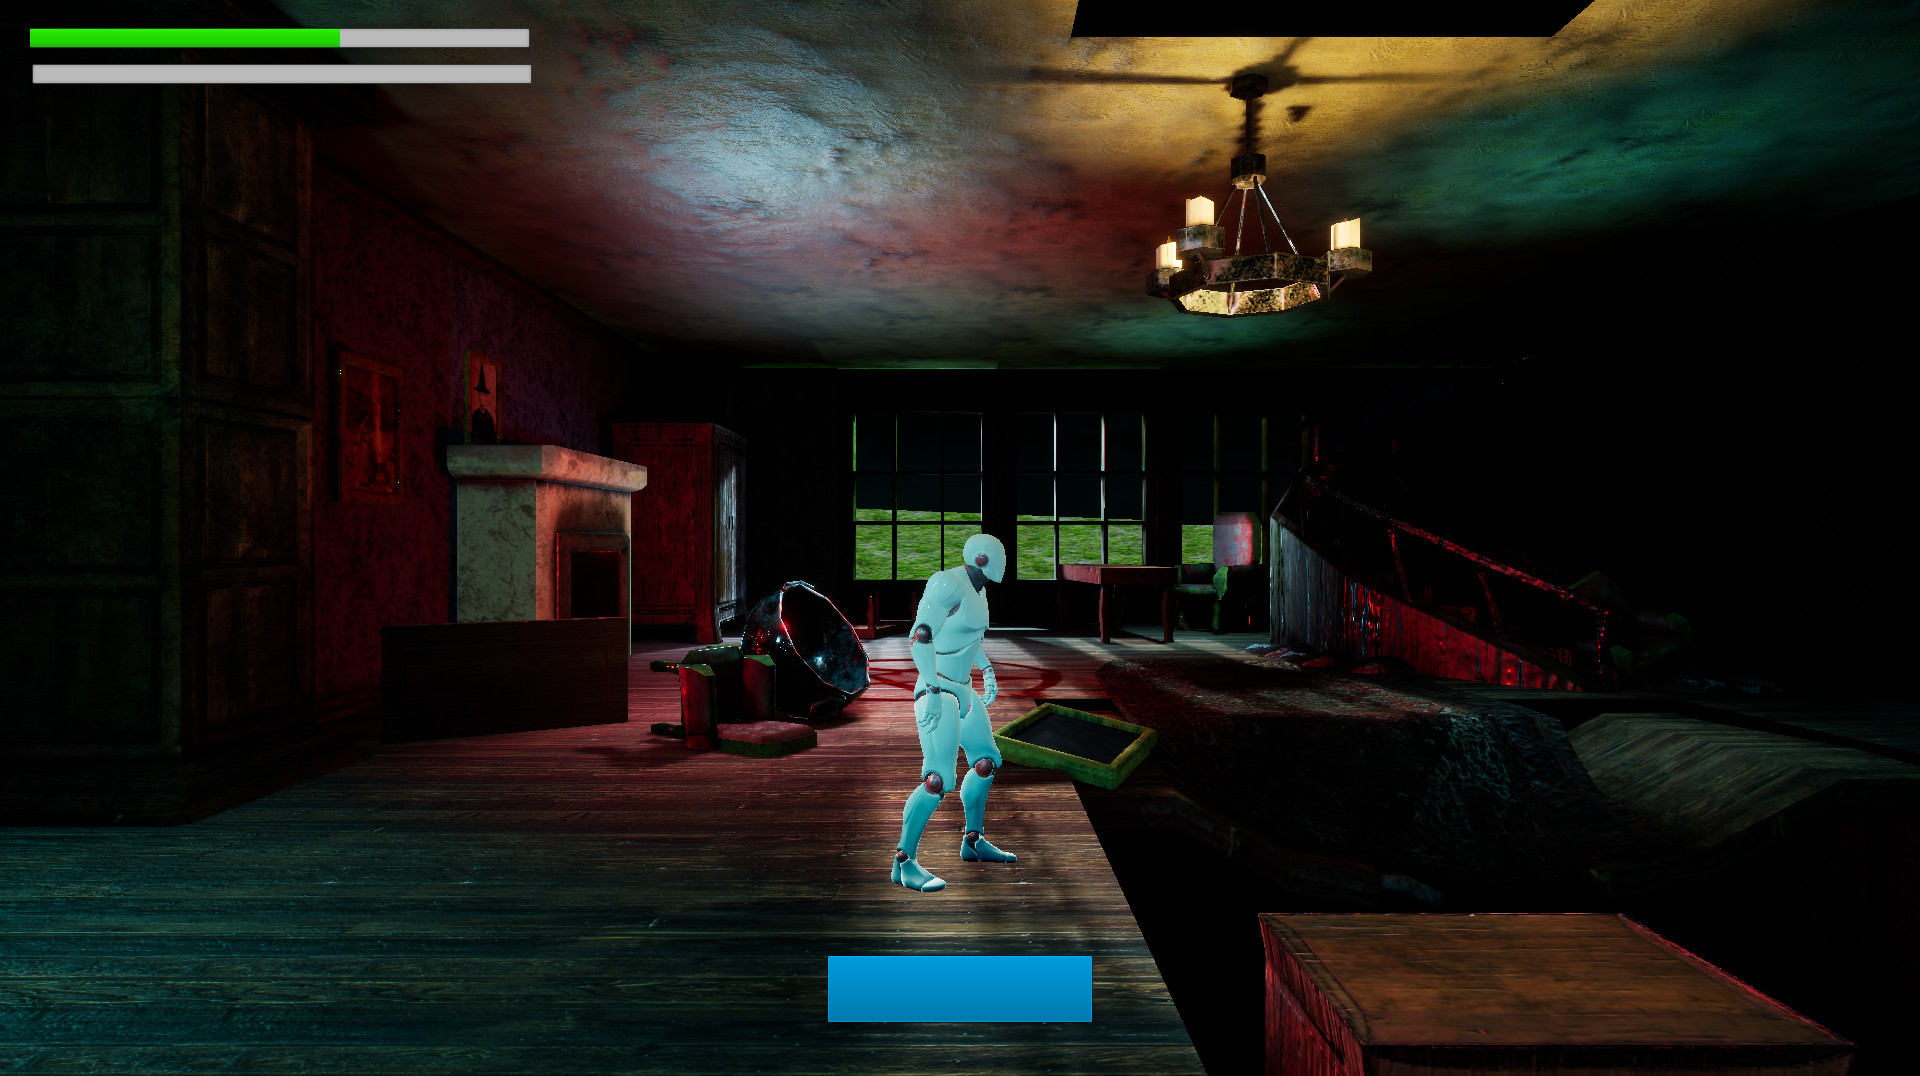
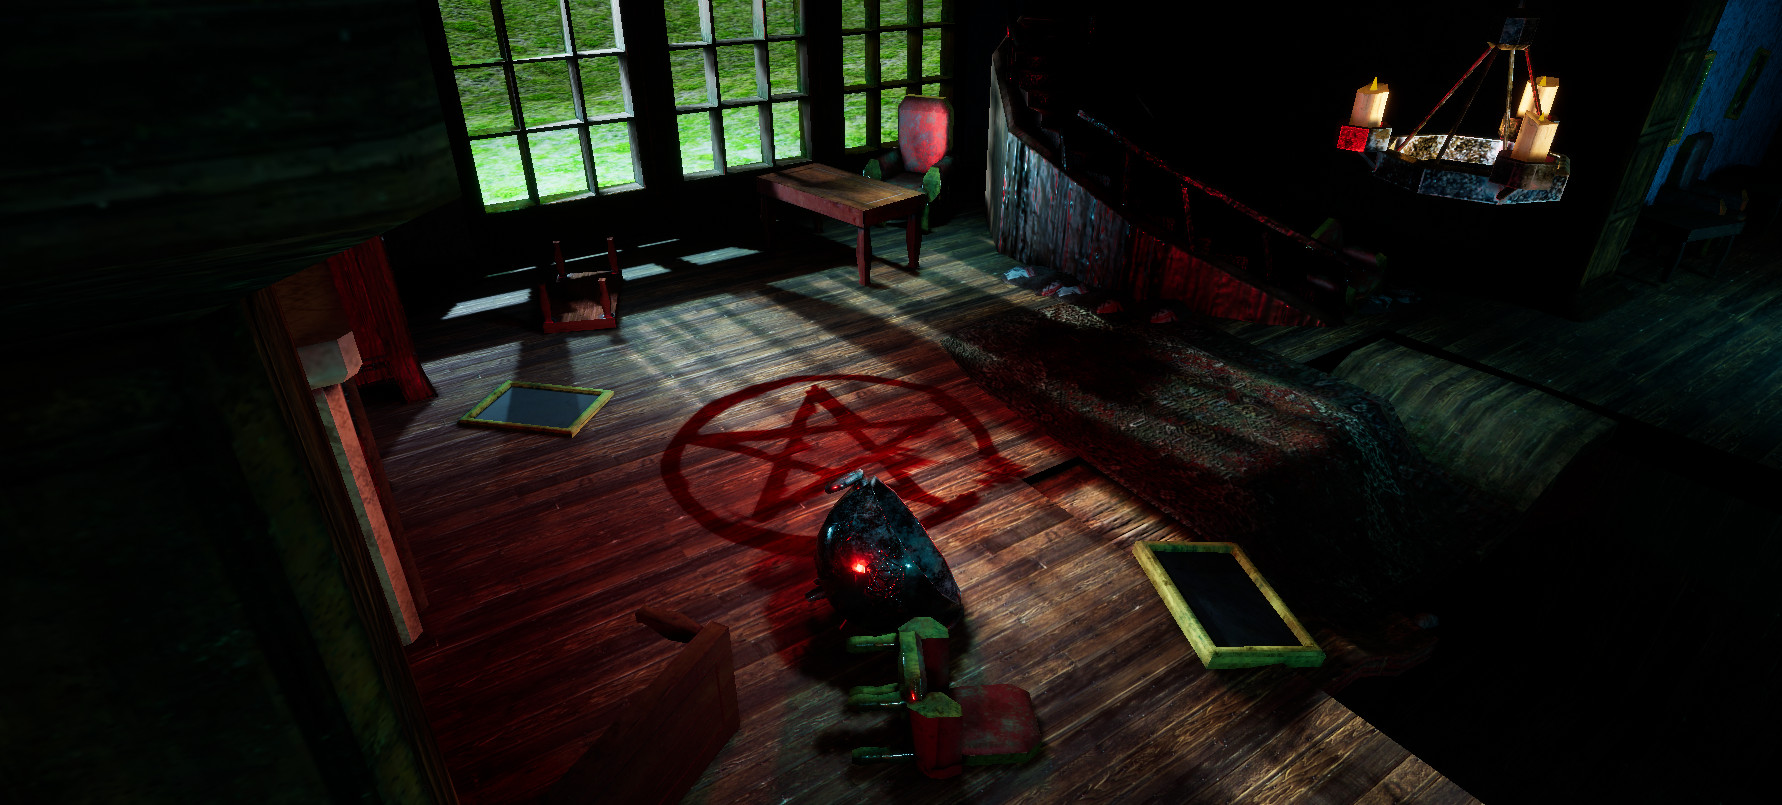
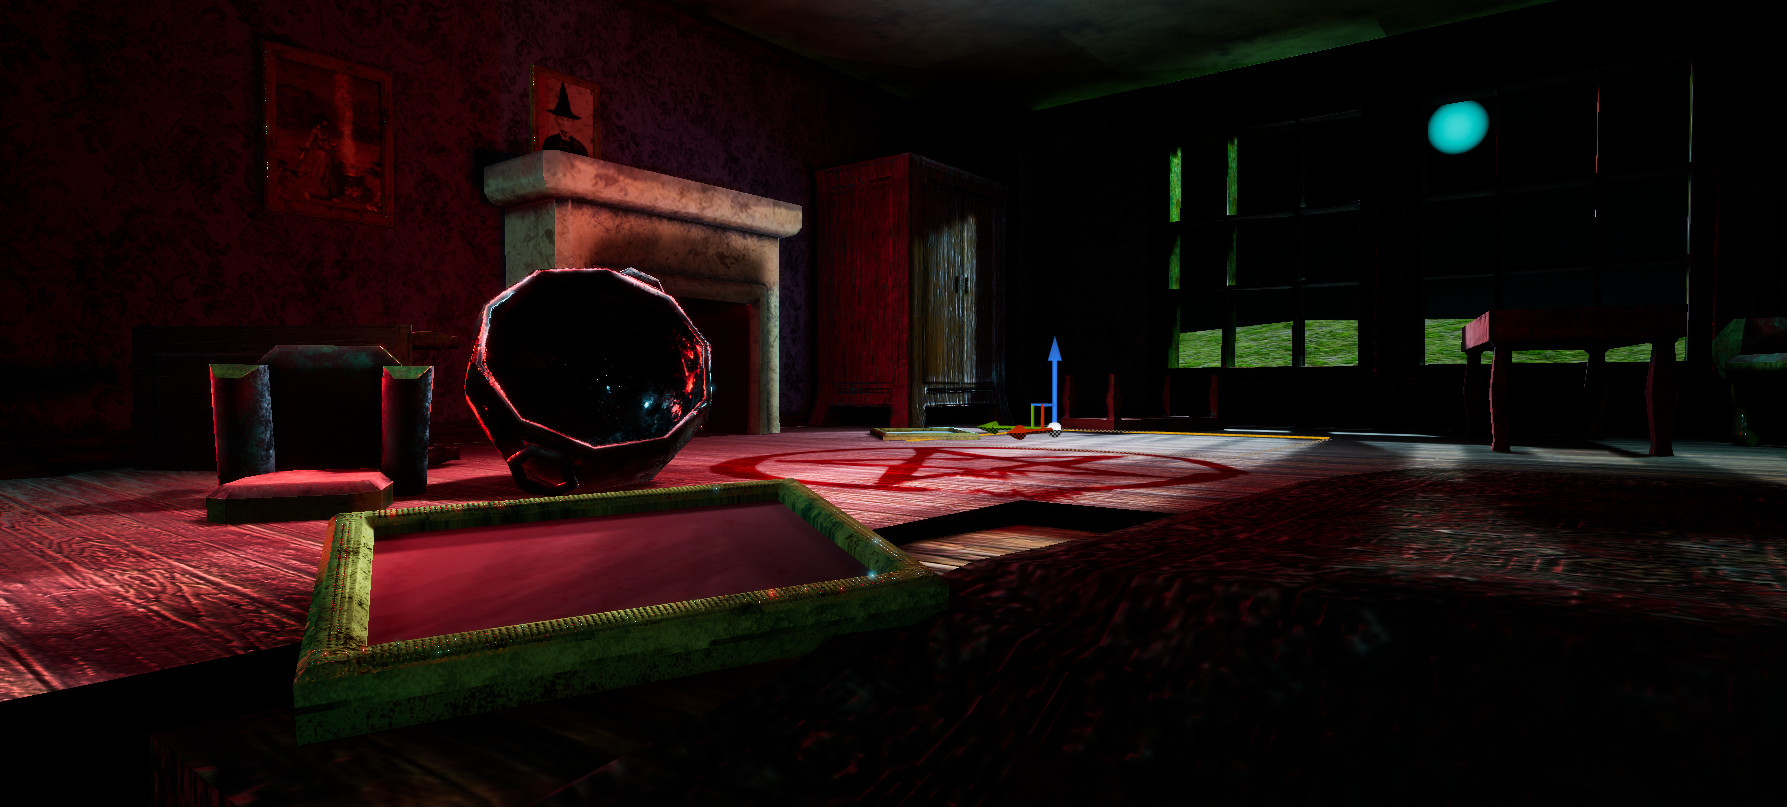
The last two weeks I've been focusing on fine tuning my scene with more details. In particular cleaning up my scene, adding the leaves and some particle effects. After one week we had a presentation of where we were at and this gave the class and tutors time to give feedback to work on for the final week.
Ivy
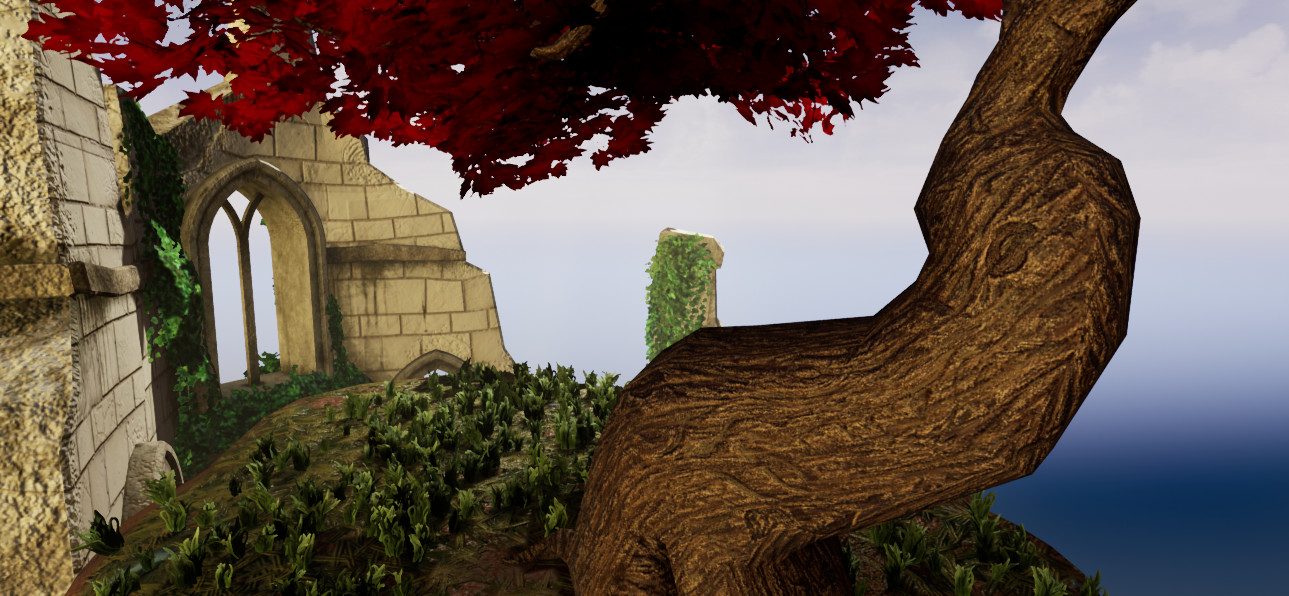
I did a quick bash together of ivy. Ideally I wanted to vines to wrap around certain parts of my ruins but as I was conscious of time I did these in the same mesh manner to the tree leaves. if I have the time I'll go back and tweak these a little more to be more realistic and like they are more attached to the objects.

Tree Material
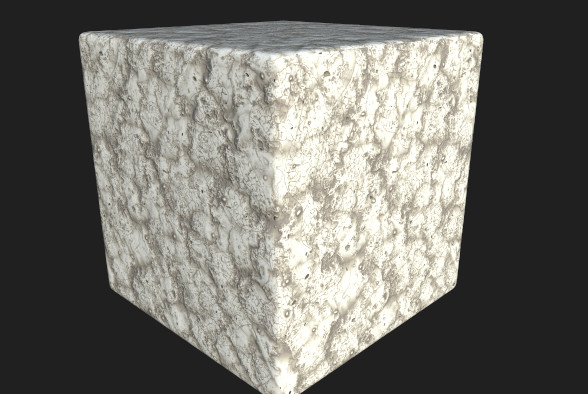
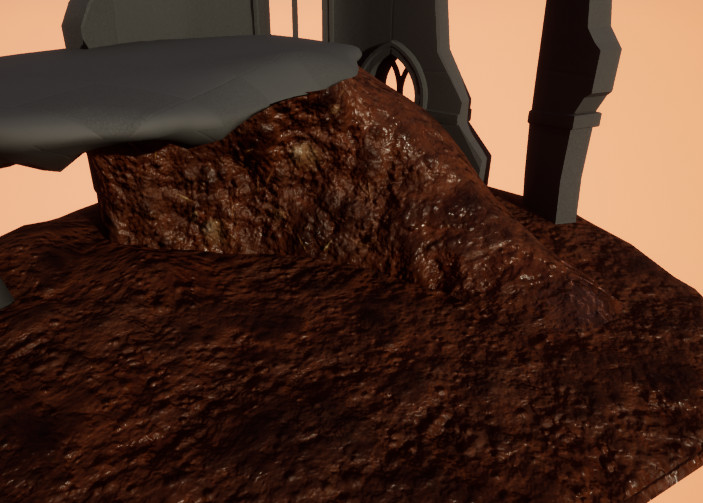
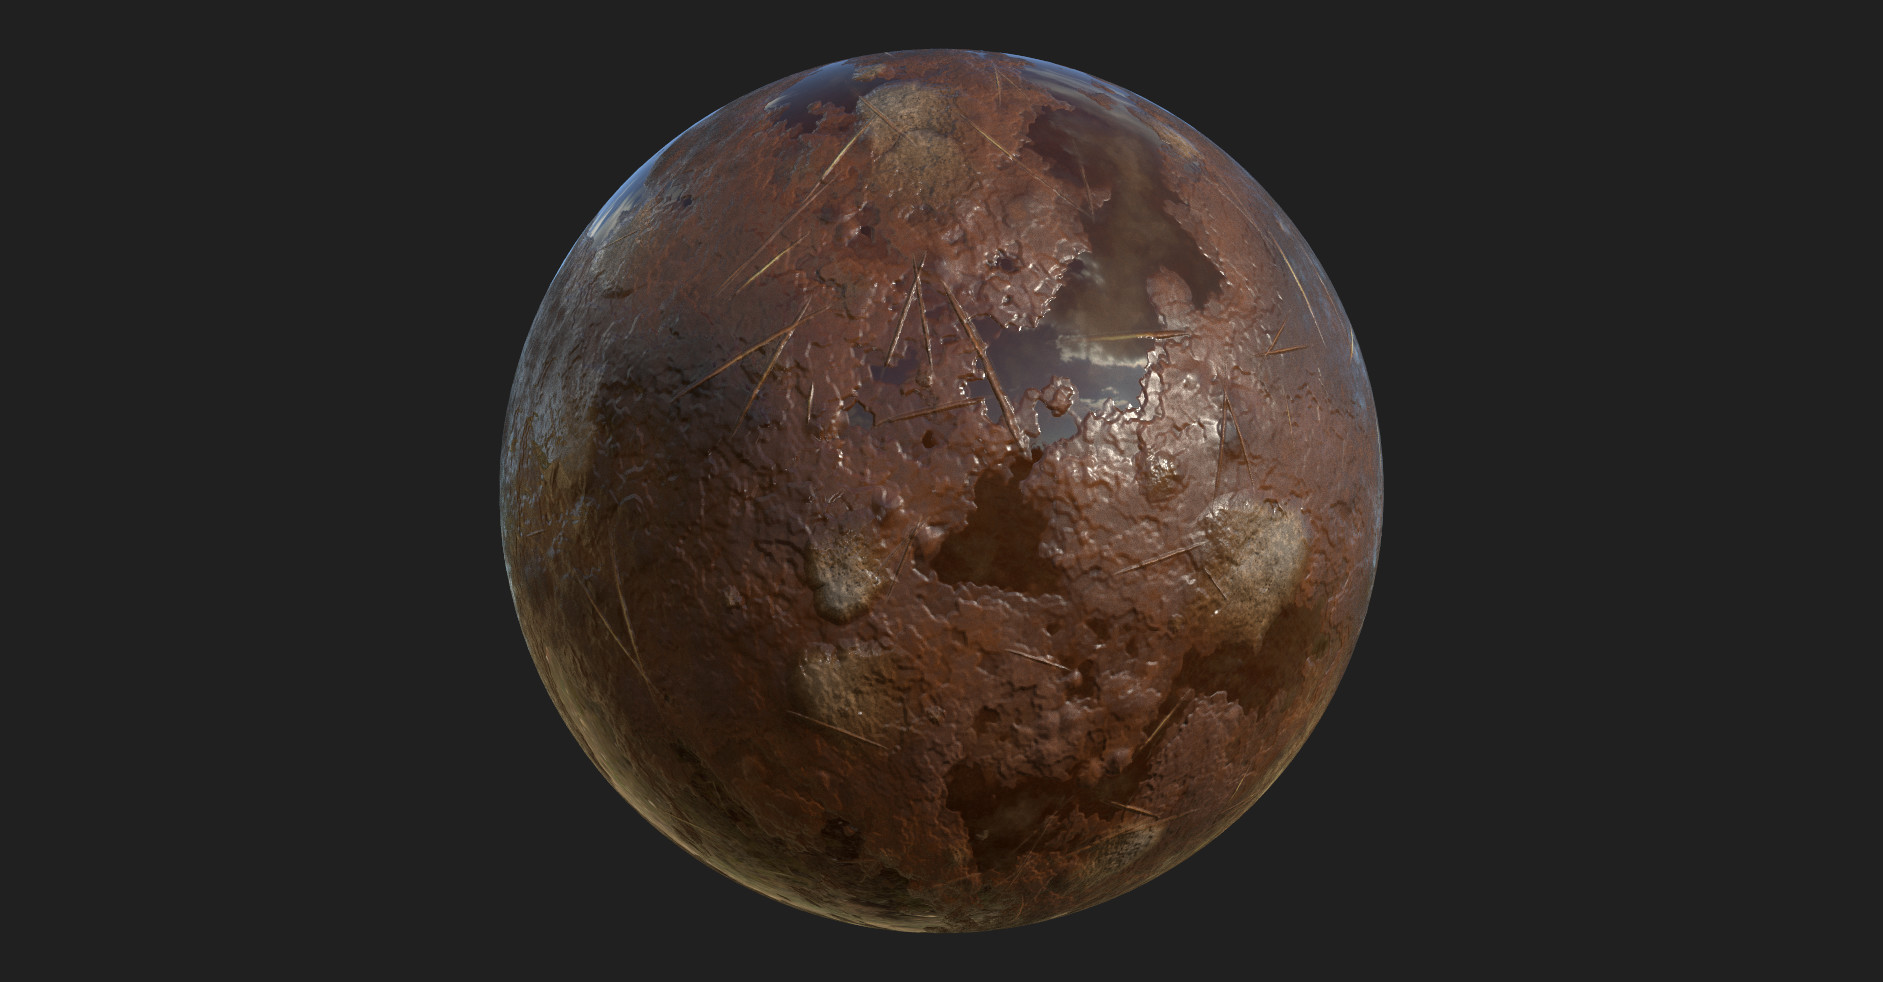
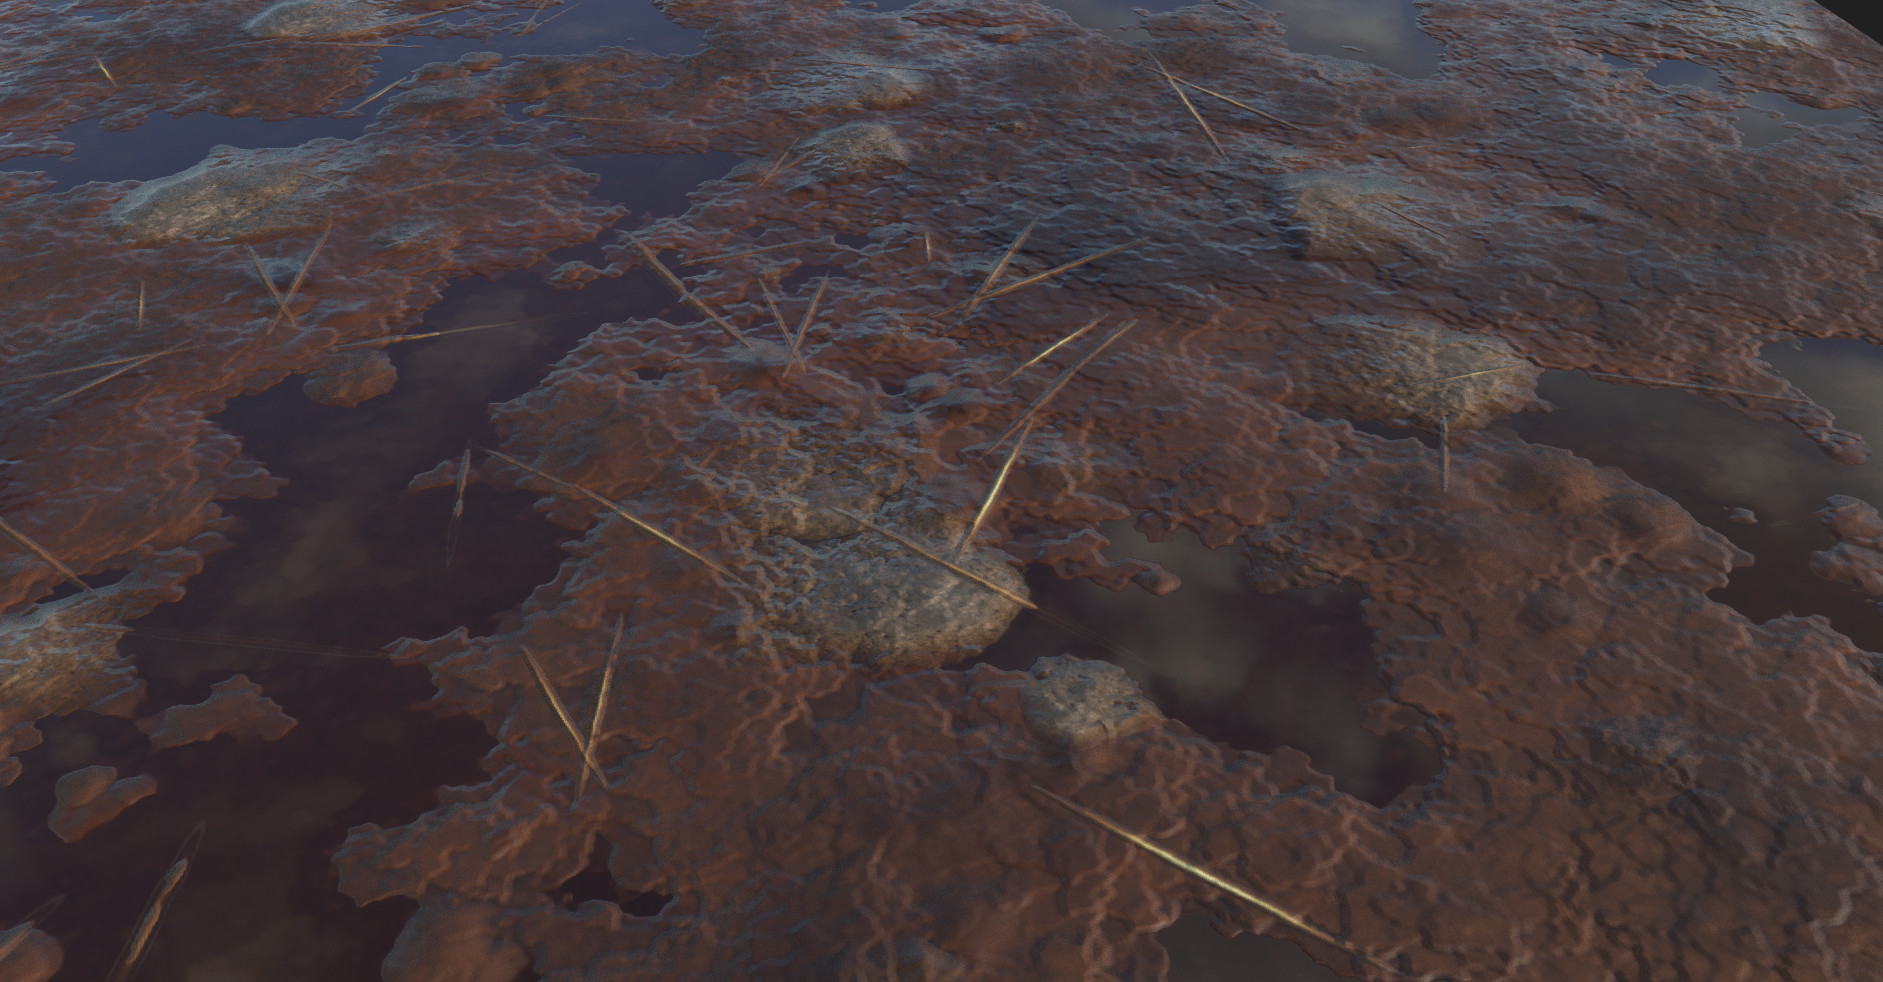
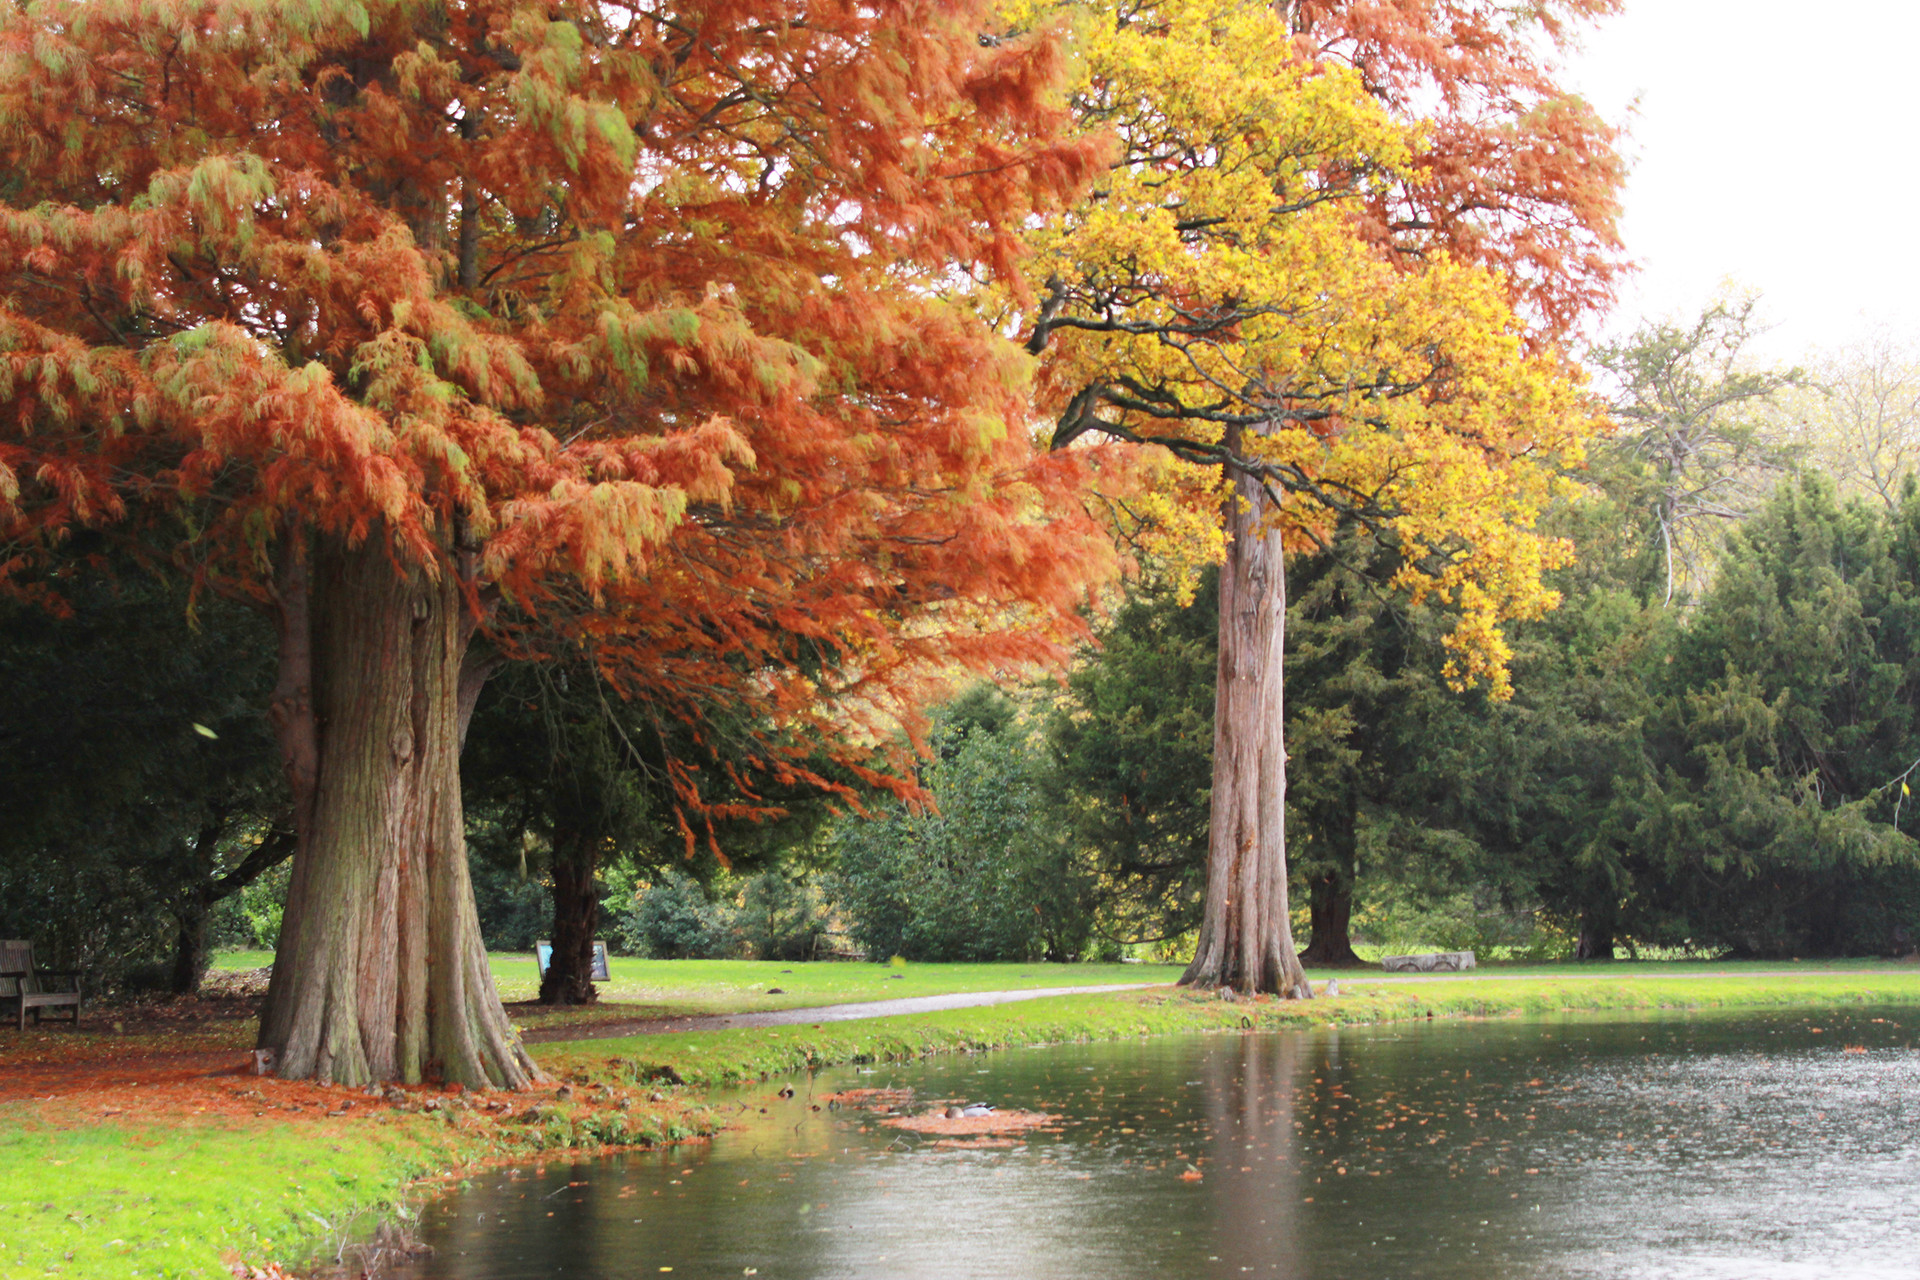
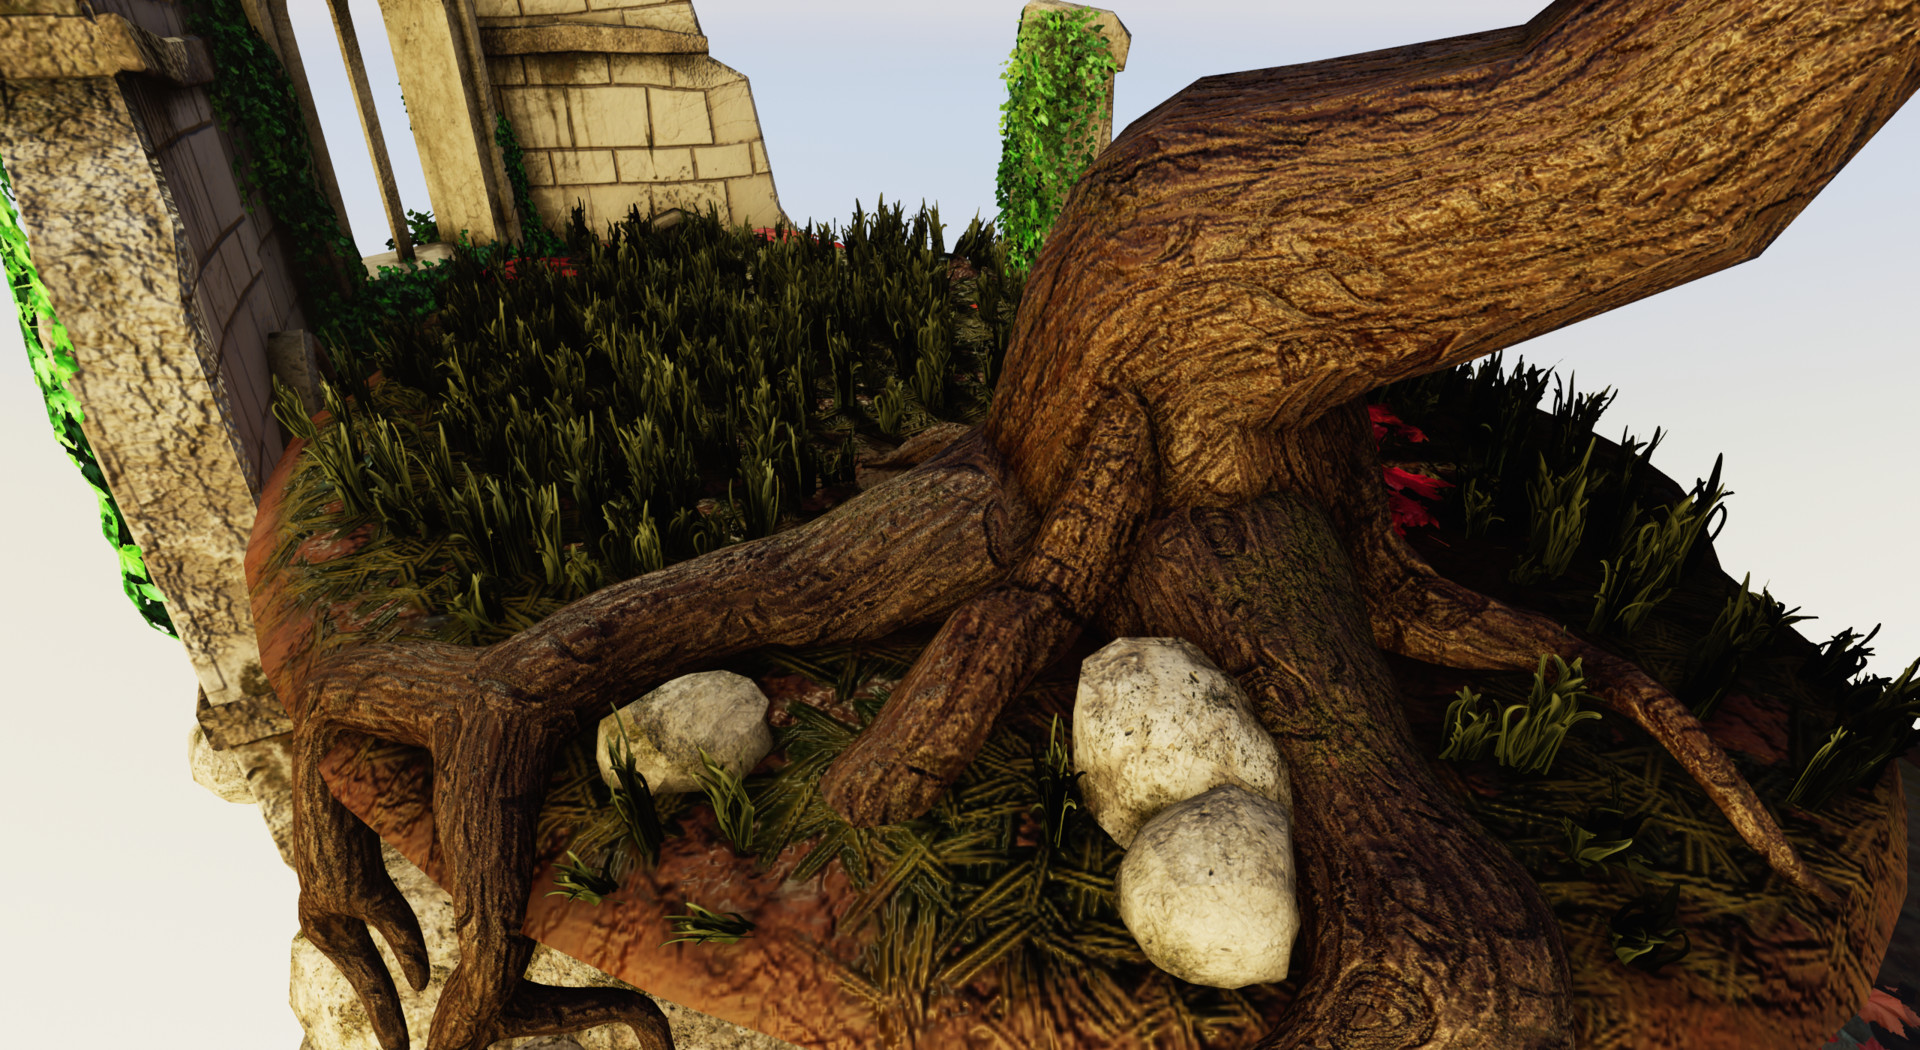
As you can see I also textured my tree. I created my own bark material from Get Learnt tutorial which I deviated from as there were nodes used that I didn't have access to. I was surprised that I was able to quickly find a work around to get a similar result so I'm picking things up apparently!
Since this shot I have gone back and tidied up the seams and made sure all the roots have the texture facing the right way.
Fireflies
As a test I quickly followed this tutorial and edited the inputs for my own needs to see how long it would take me to create a particle effect. I really wanted to get falling leaves working so the fireflies was a simple introduction to this process. The tutorial was surprisingly short which I wasn't expecting and I am pleased with my end result as it was just what I needed.
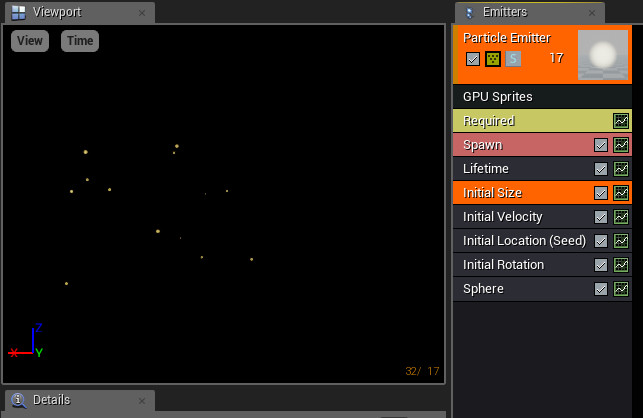
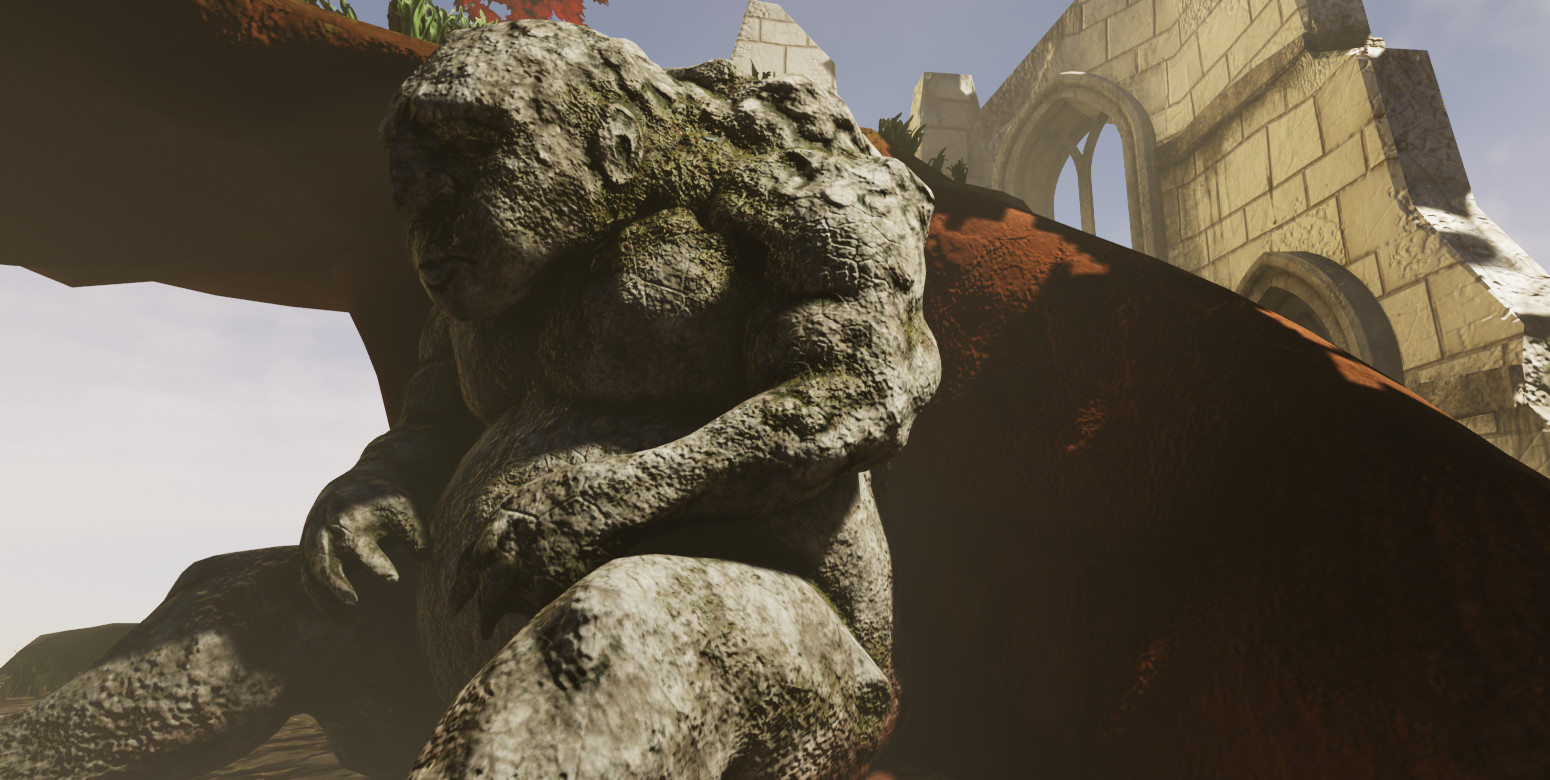
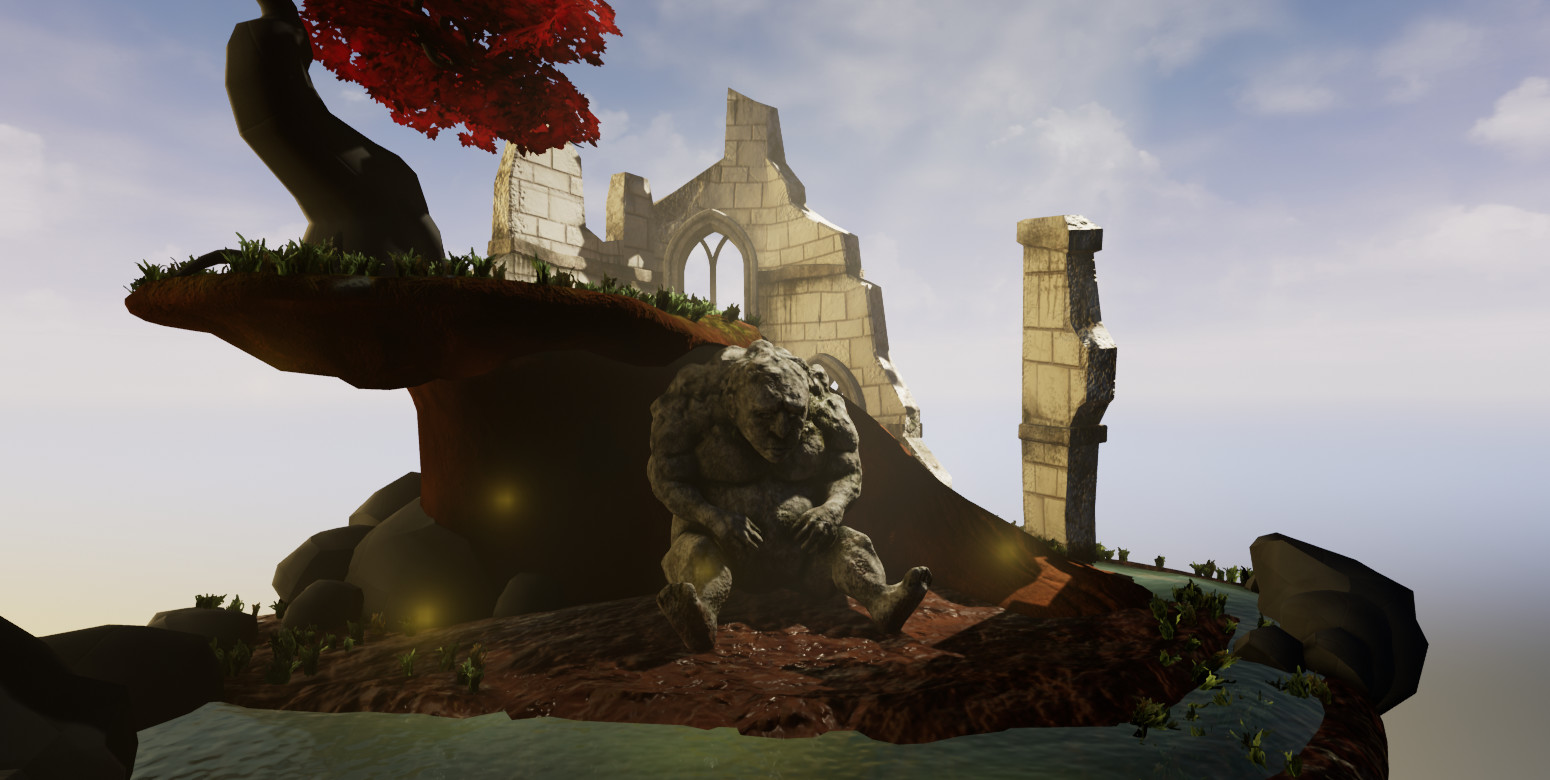
The fireflies help lighten this corner of the scene I was worried about being too dark but it isn't quite enough.
Water Lights
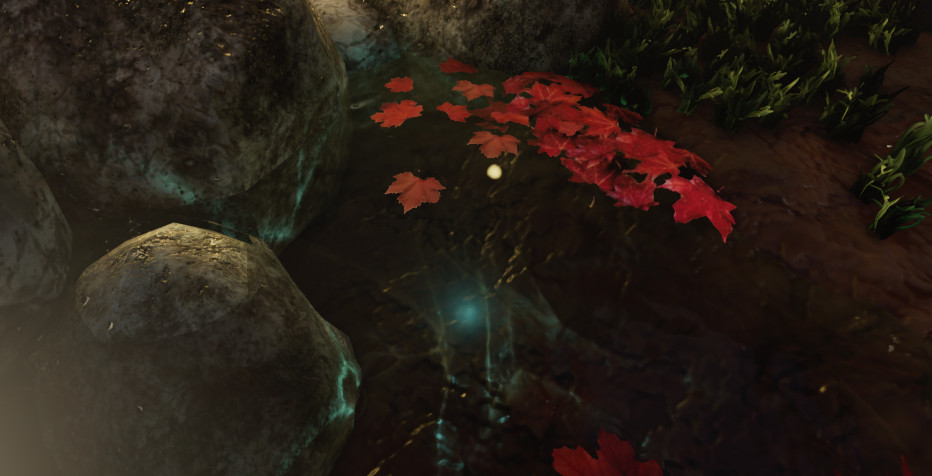
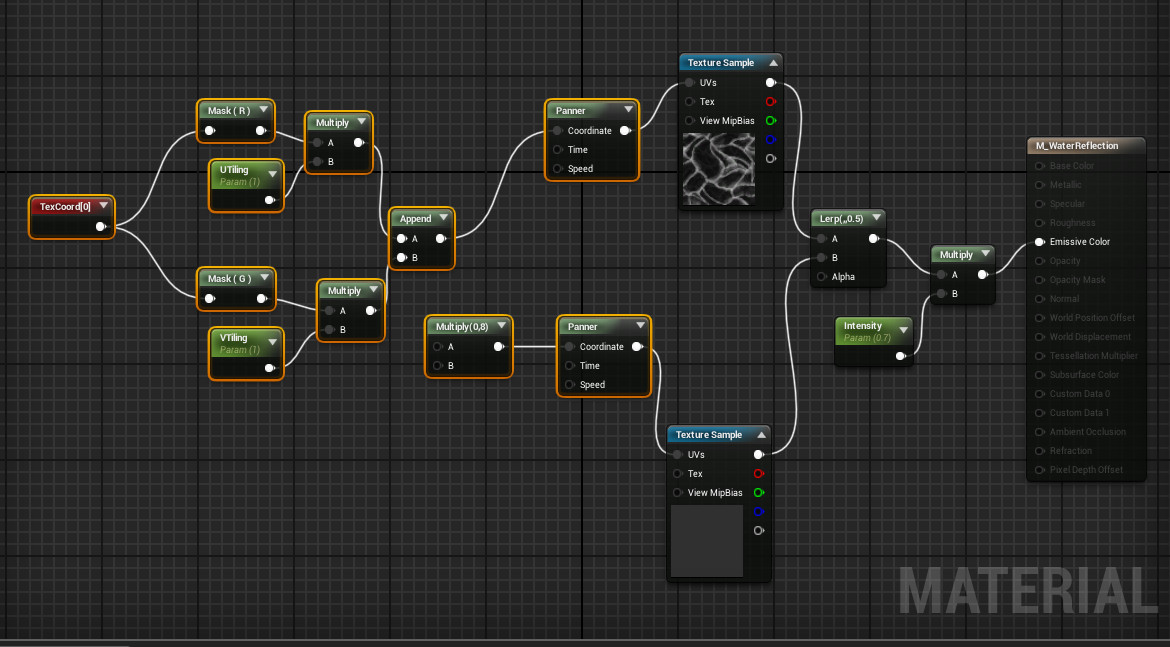
Although not necessary I added some lights underneath the water surface to project a rippling effect. I watched a tutorial on water caustics for an idea how to do it and made a very simplified version for my needs. Its not necessary natural but it helps add depth and life to the scene.
Falling Leaves
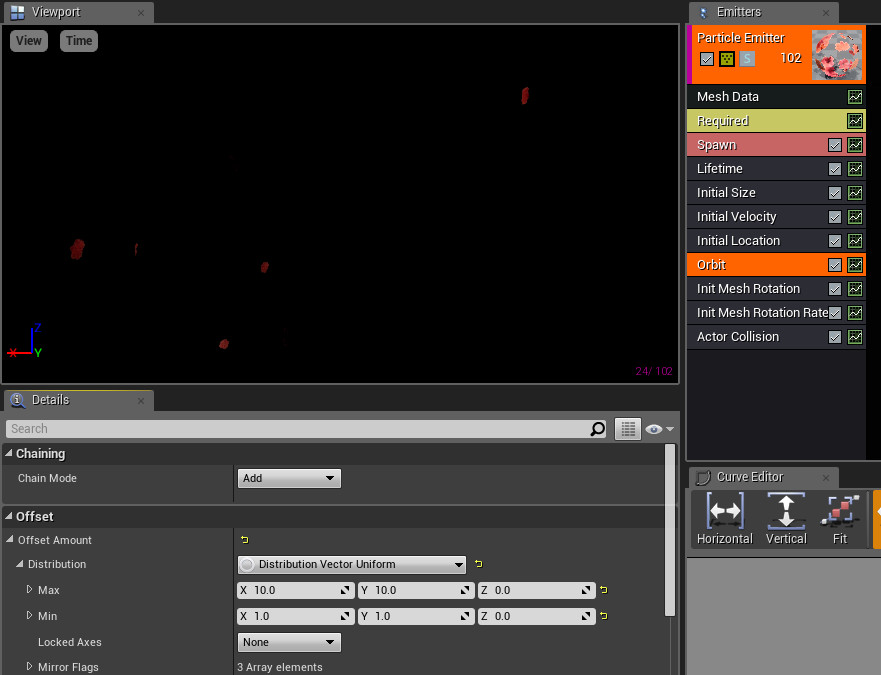
Next up was my falling leaves. I felt confident about doing this after the firefly effect and followed Dean Ashfords falling leaves tutorial to make sure I cover the basic necessary parameters to make the particle look realistic. I didn't like the settings used in the video, so set up a lot of my own using the tutorial as a guide, in particular I didn't like the suggested the orbit of the leaves so changed this significantly to make a calming leaf fall in my scene.

Leaf Piles
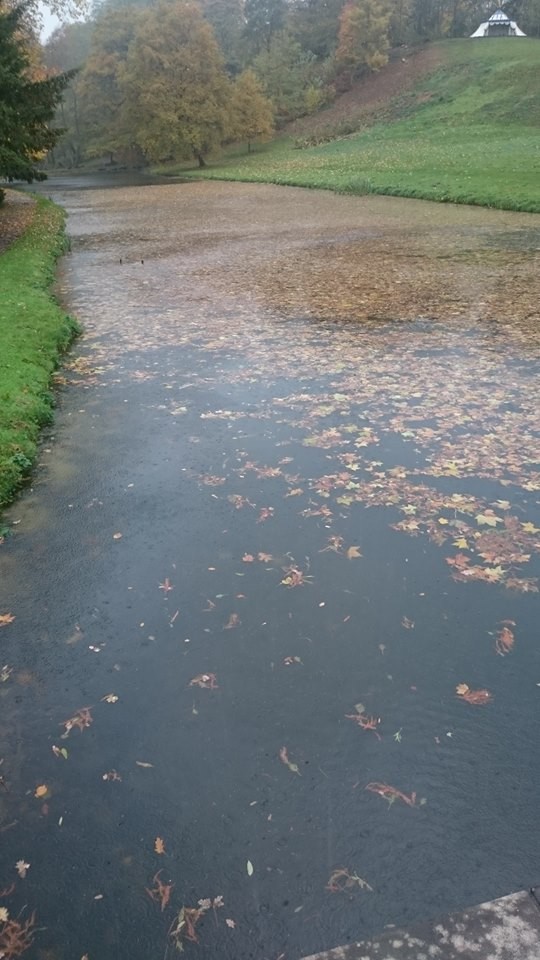
I had my single leaf texture on the same texture files as my piles of leaves. These were made in the same manner I made my tree leaves and made sure I had a variety of distribution to have some spread across a surface and bunched up. The ones spread out across the surface was particularly important to add to the surface of my water.

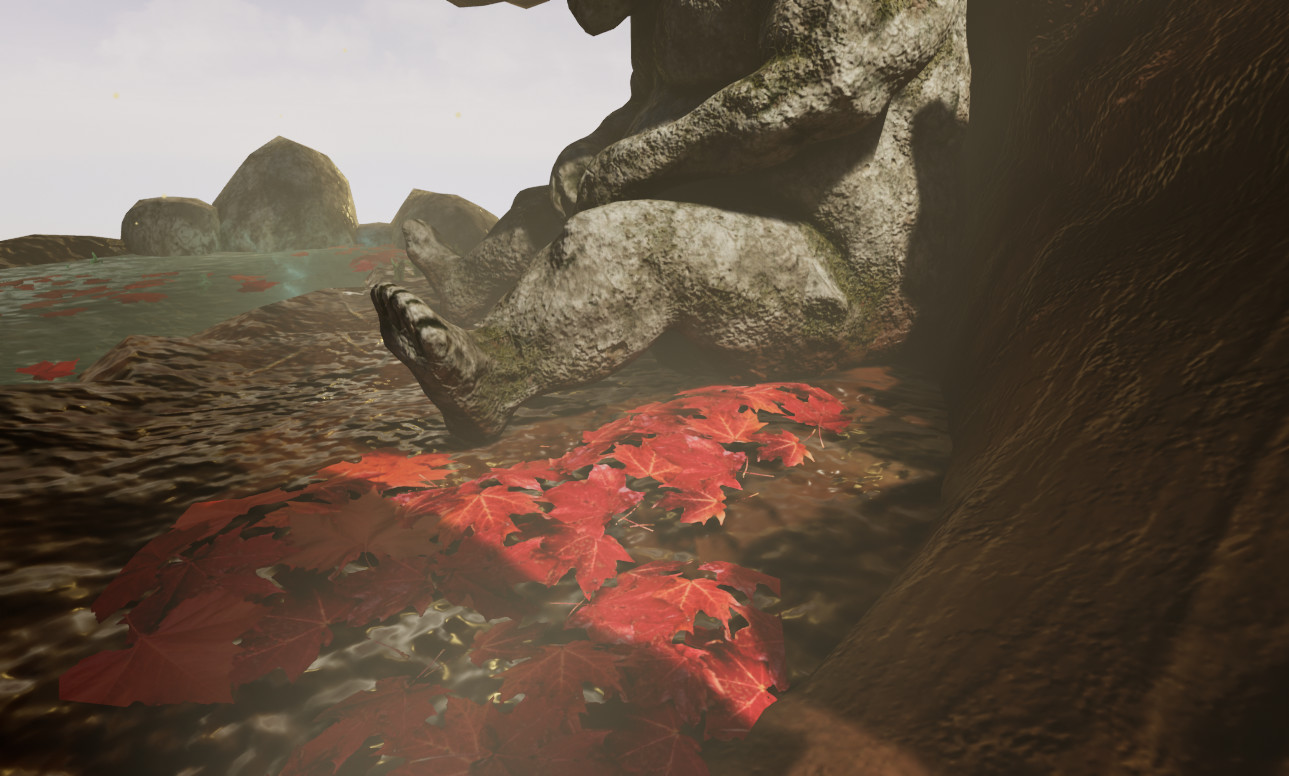
As an extra detail I added the grass wind node to the material of the leaves that were on the waters surface to help them look like they were floating on the water. This really enhanced the realism of the scene.

Presentation and Feedback
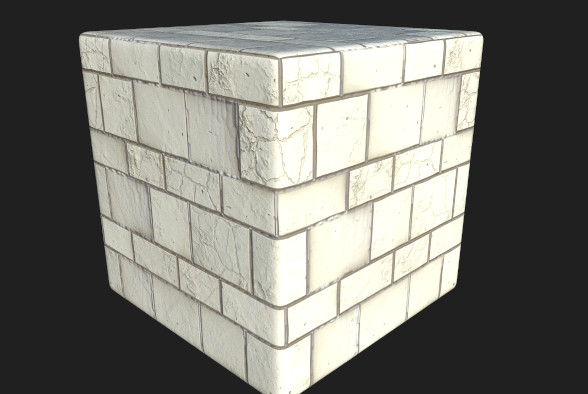
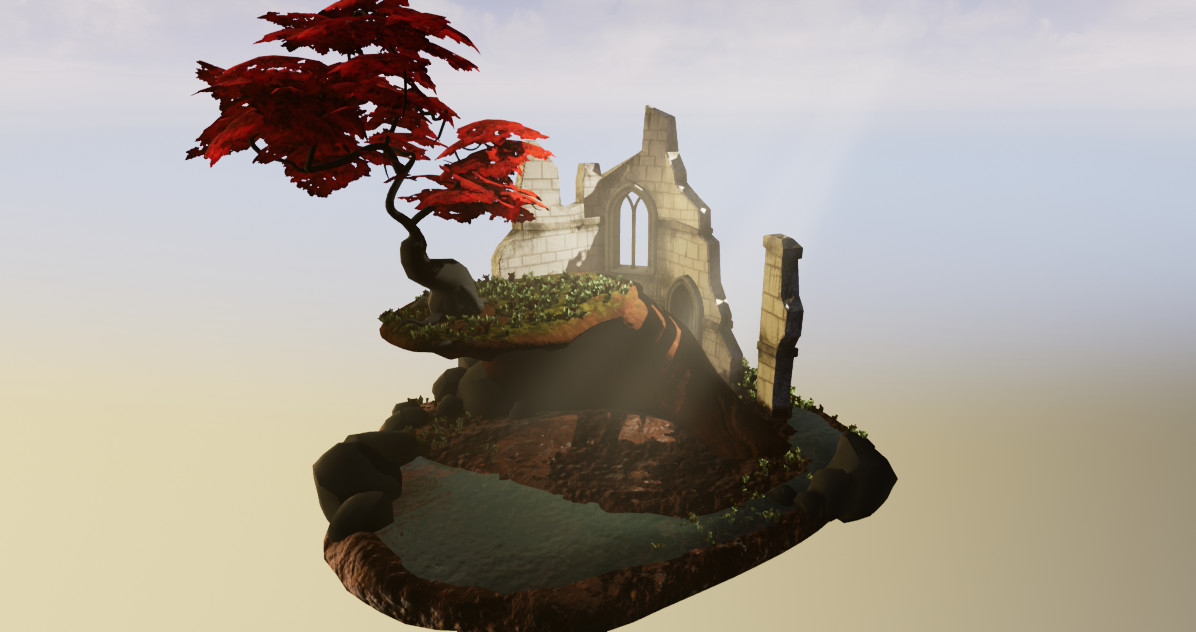
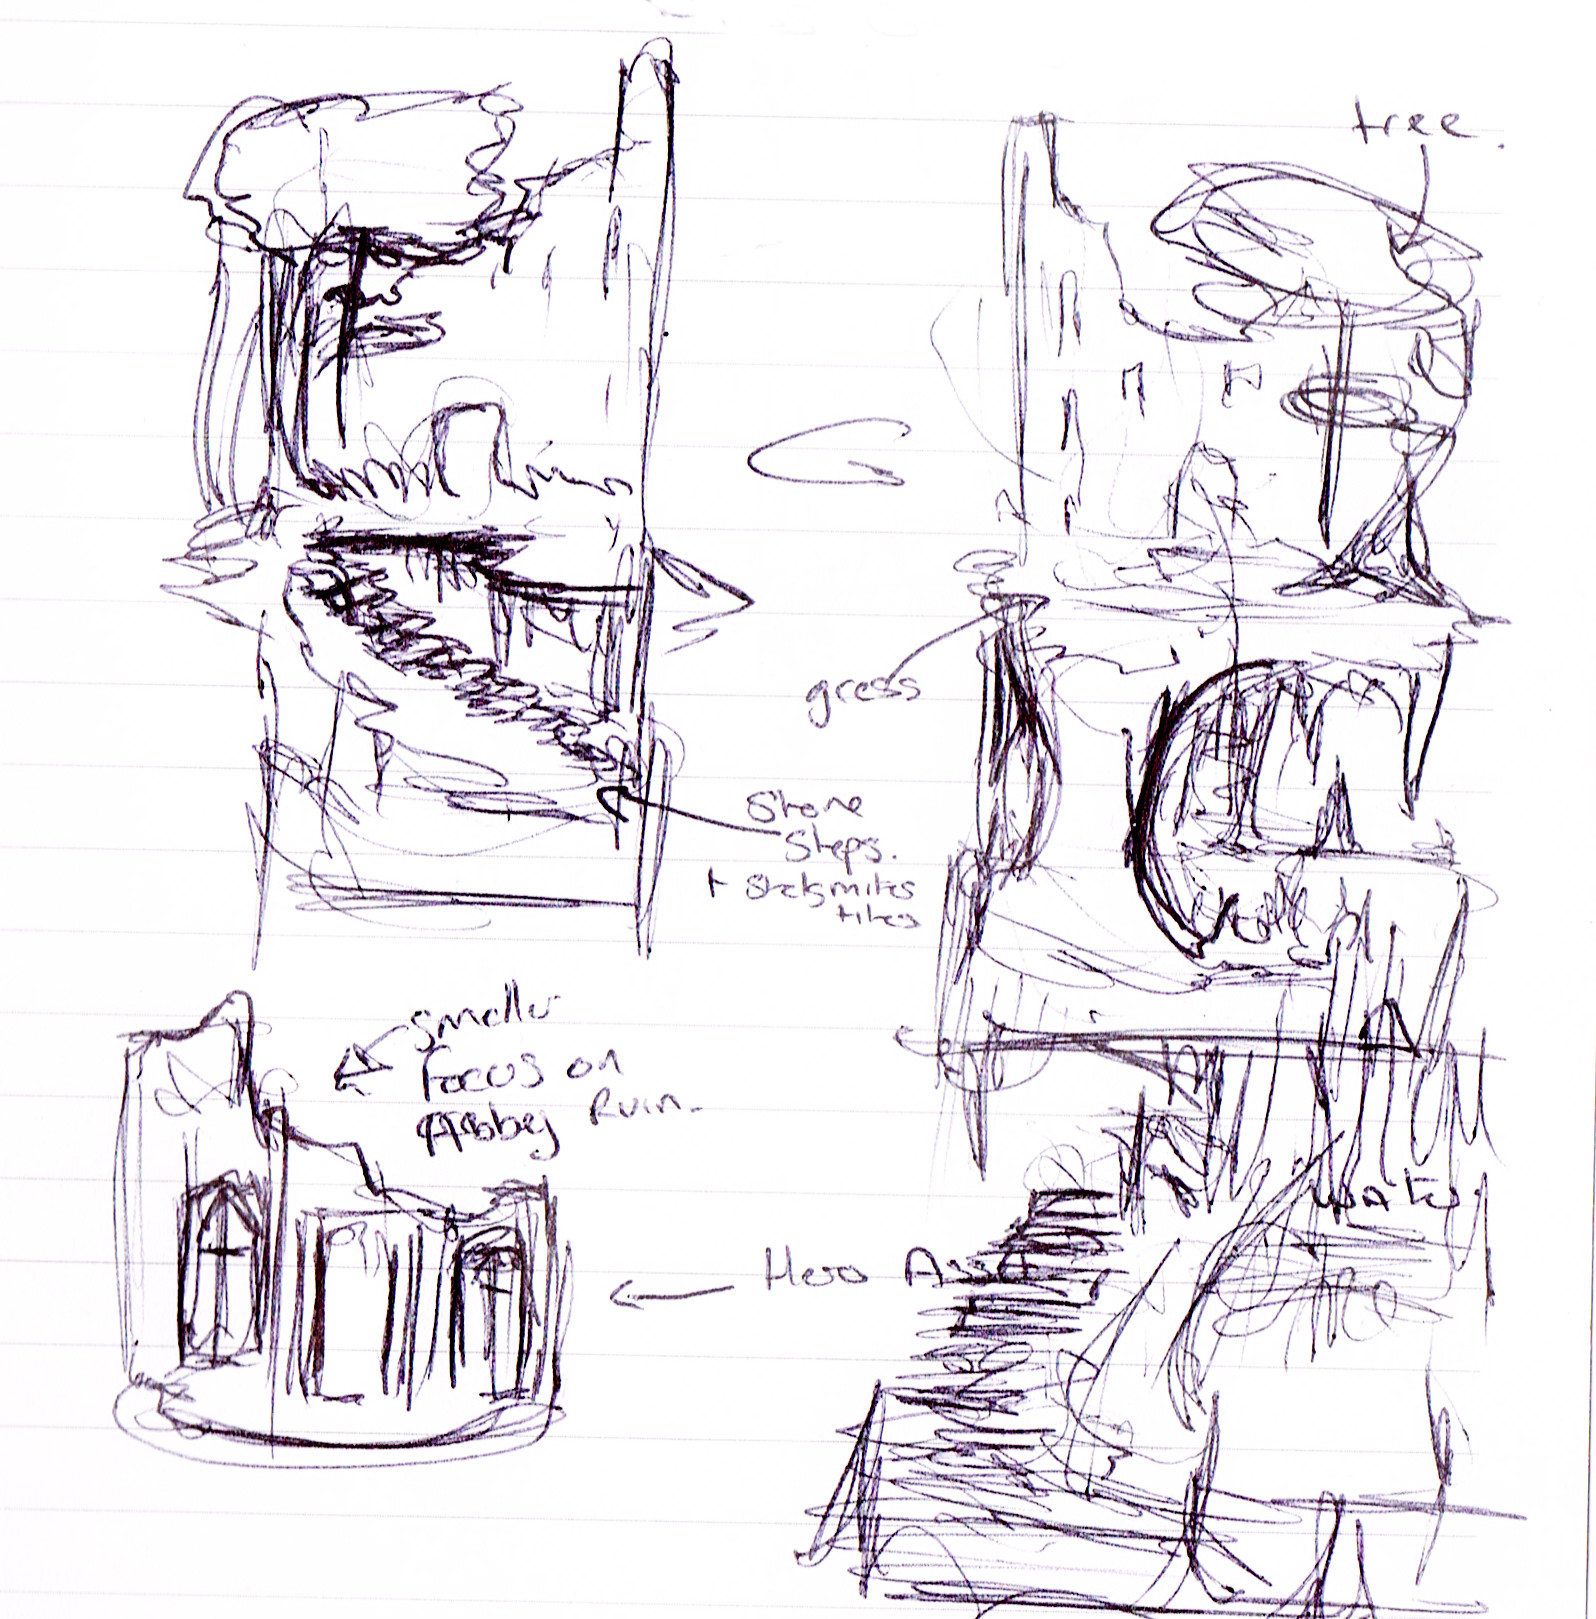
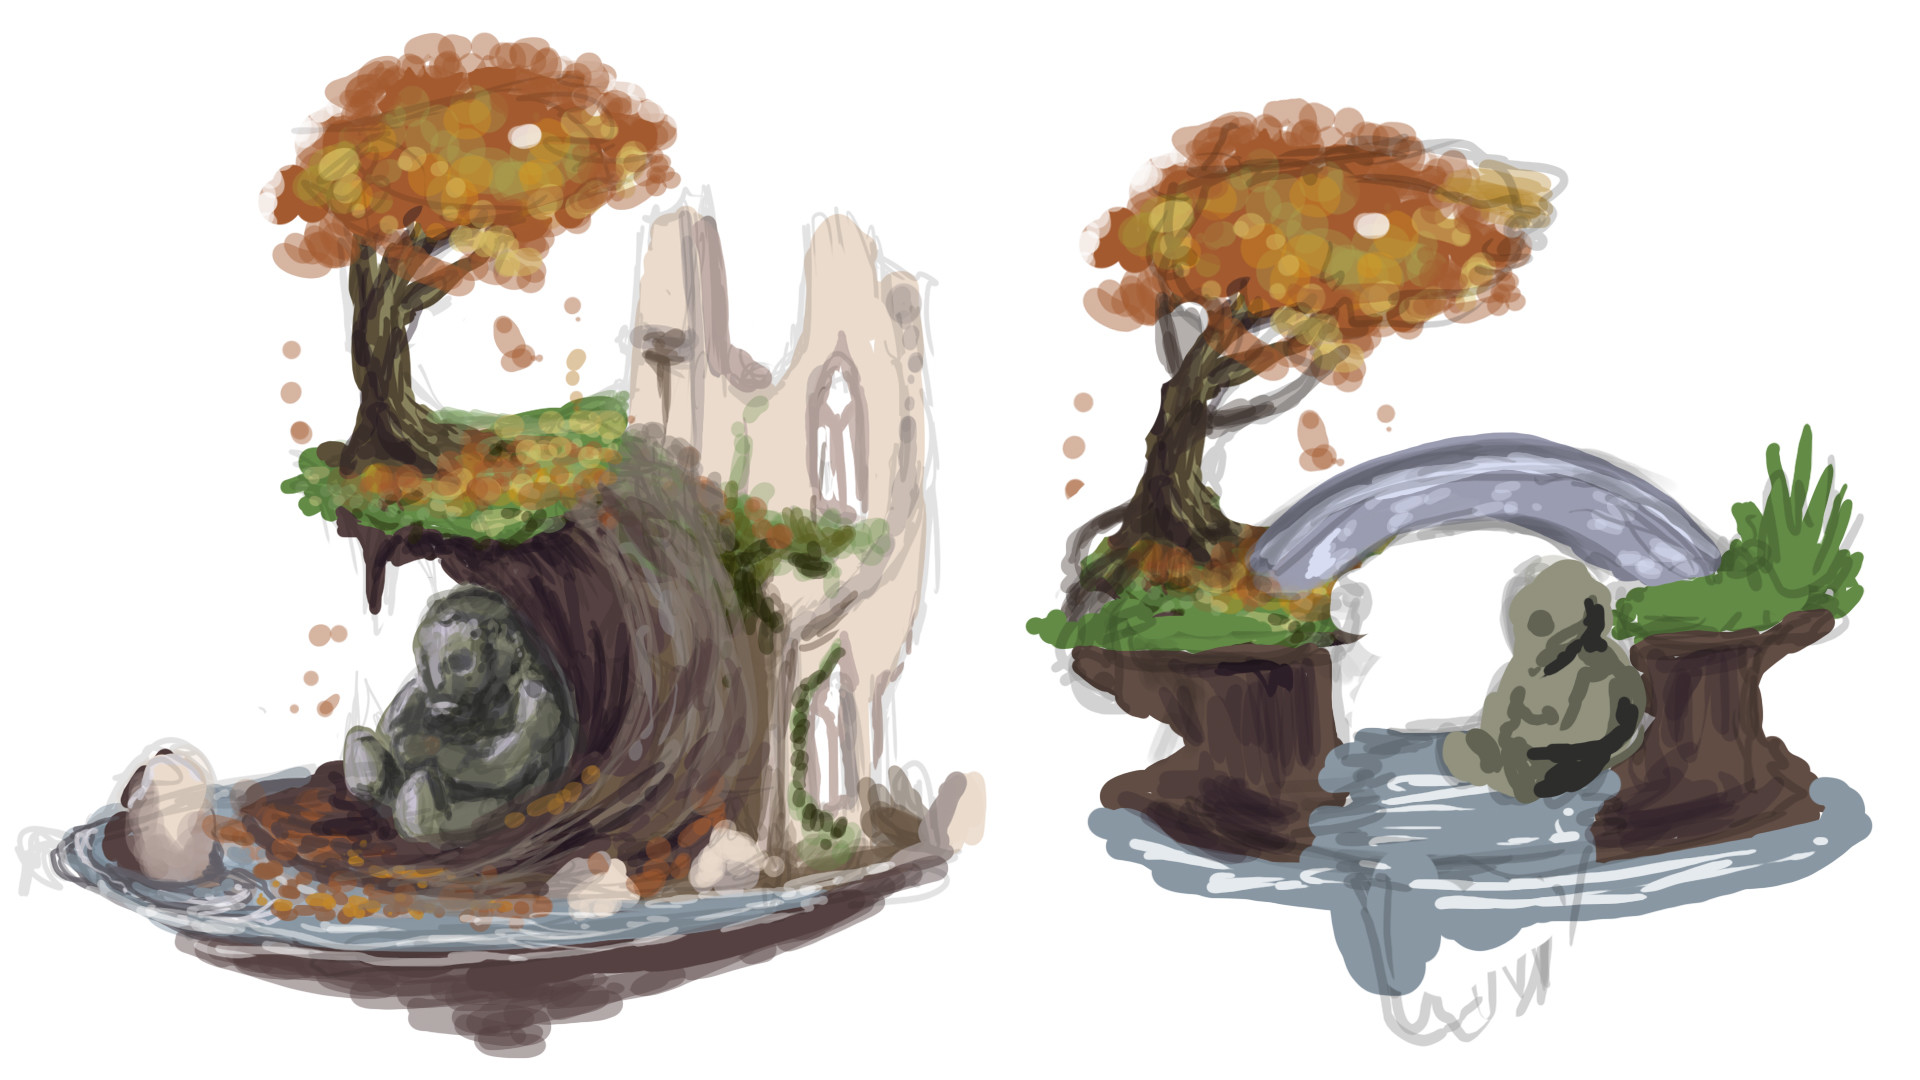
We had an end of week feedback session where we presented our work so far. I had a positive feedback over all, my feedback included making sure the edges of my ruins reflected bricks, to make sure my tree had roots that felt like it was grounded and more realistic into the dirt mound as per my concept art and to also be aware of the unnatural shape of the mound. A final touch I had not overseen was the edge of the water.
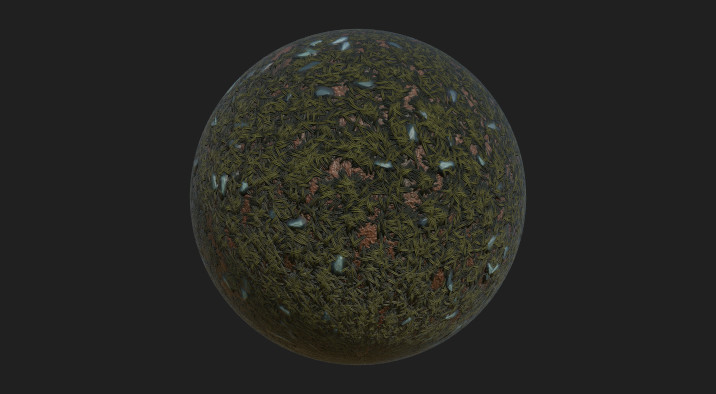
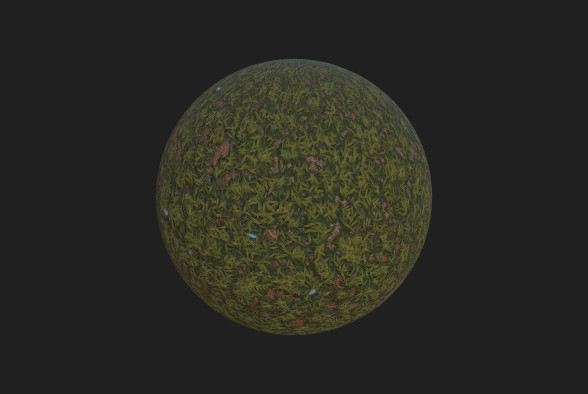
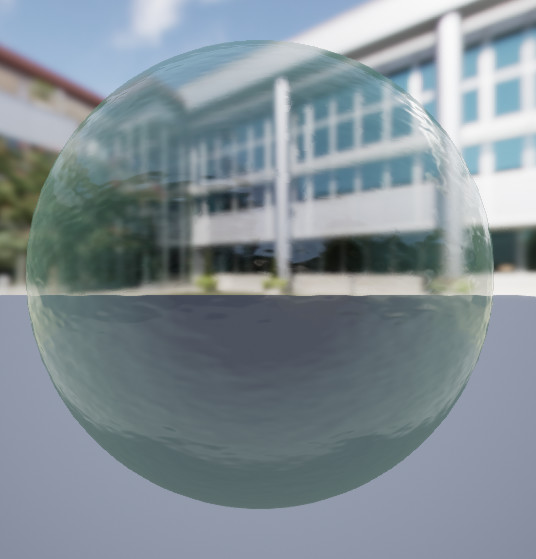
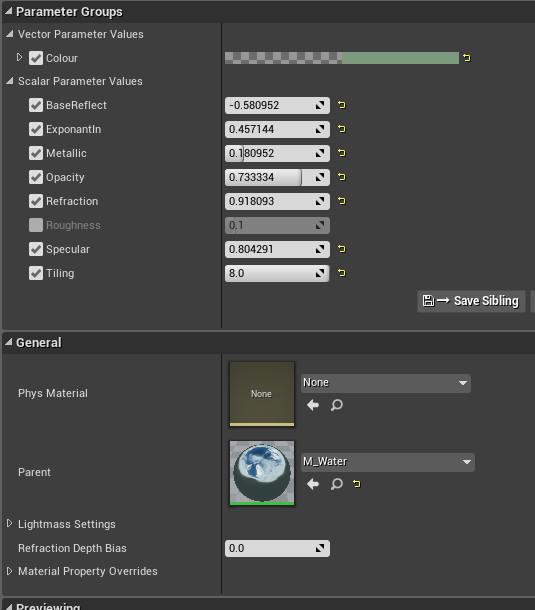
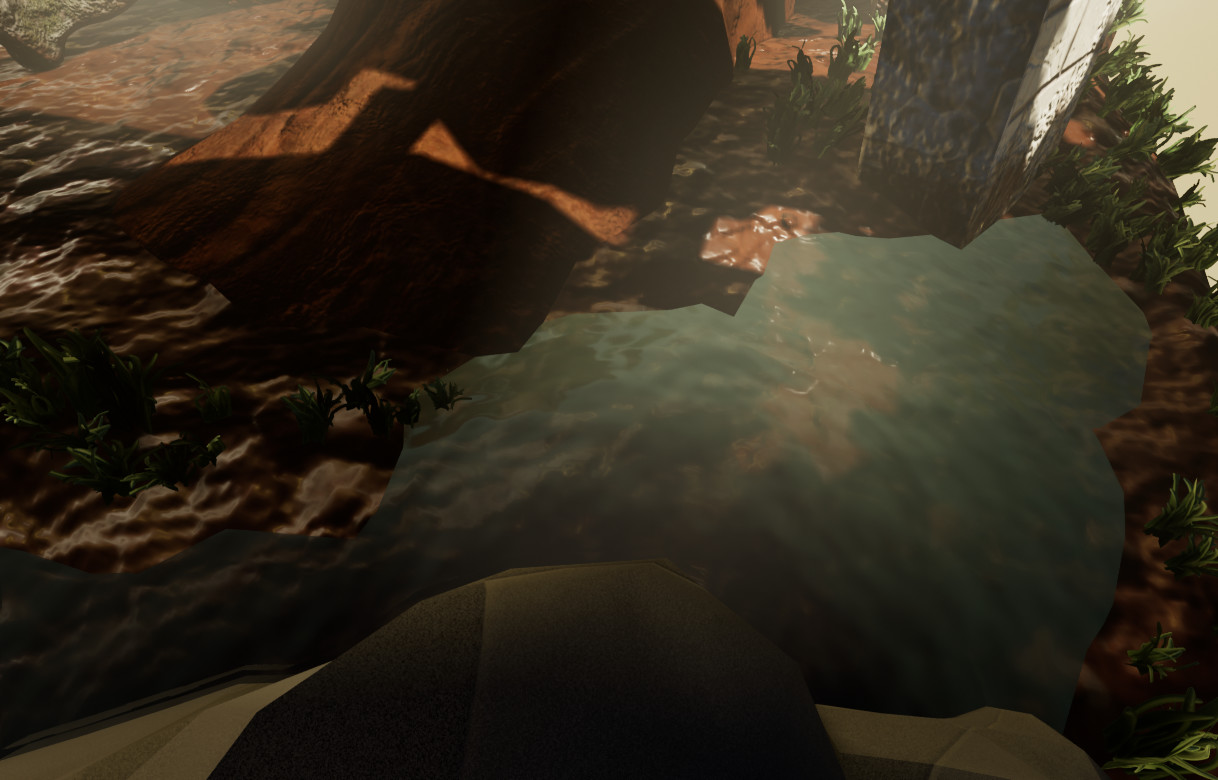
I have since changed the parameters of my water to be more transparent and this looks much more natural. I've also vertex painted my base using my two mud textures which helps the transition of the water and looks a little more natural now. It also breaks up the edge of the water with the puddles in the mud texture.
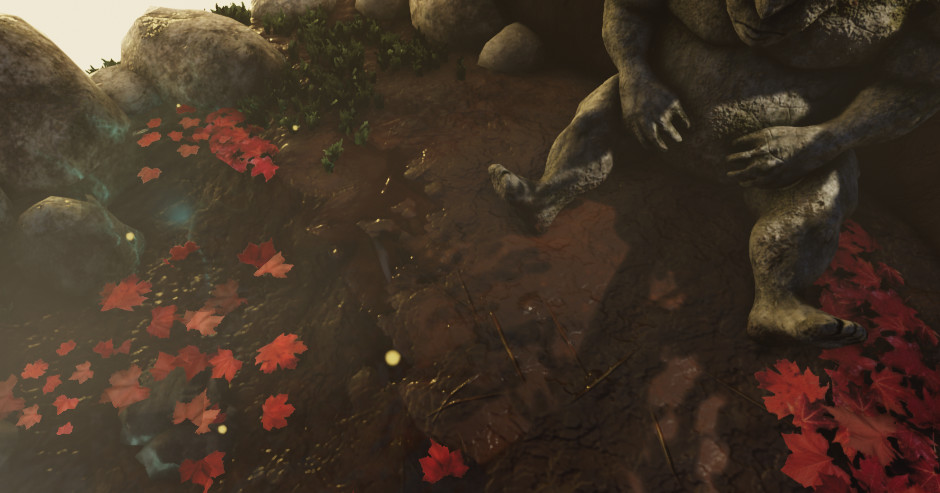
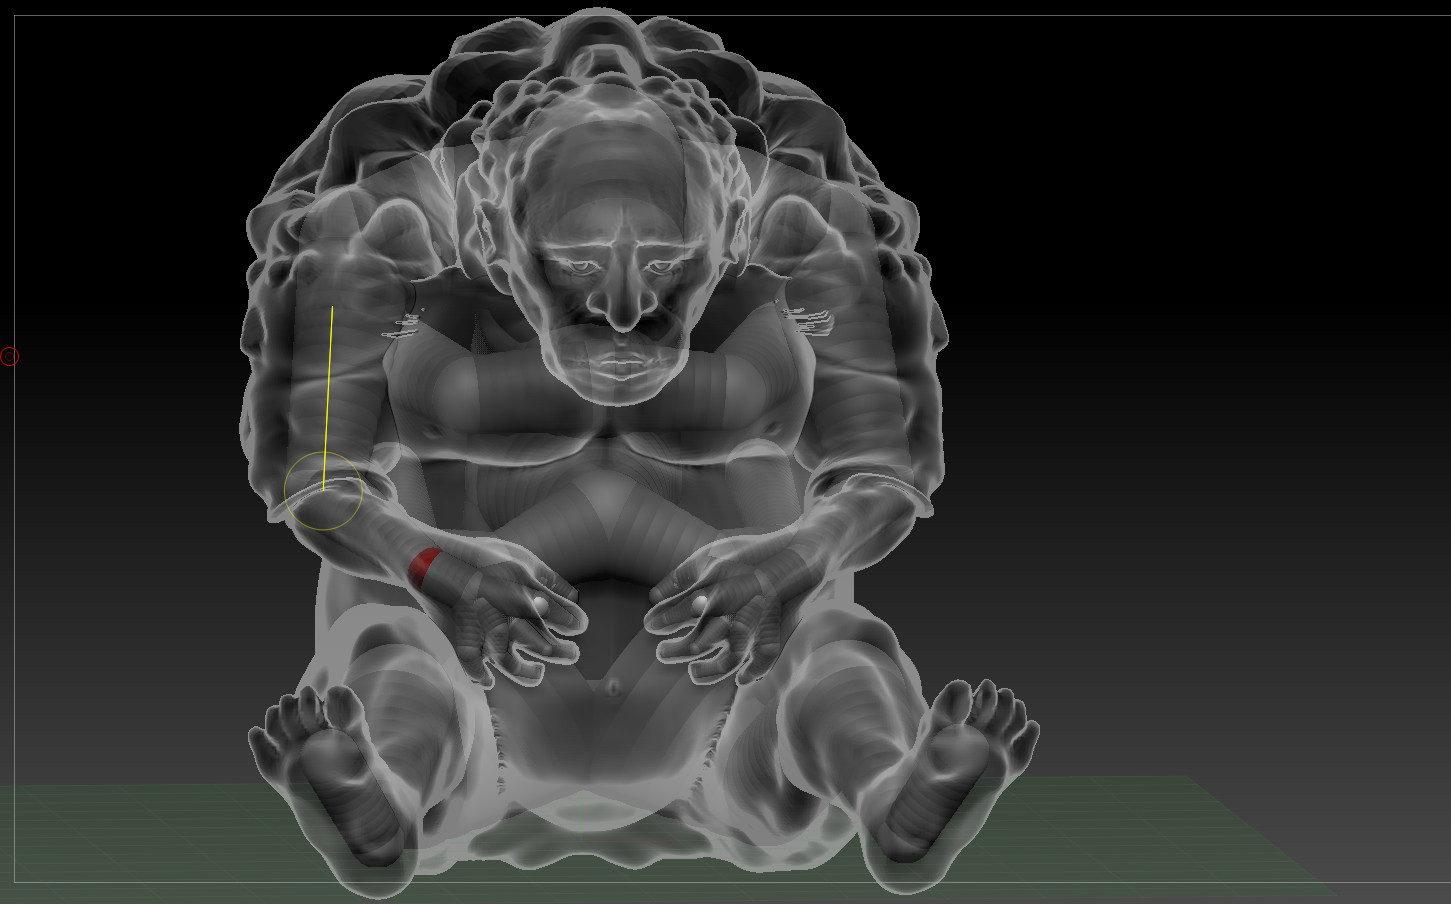
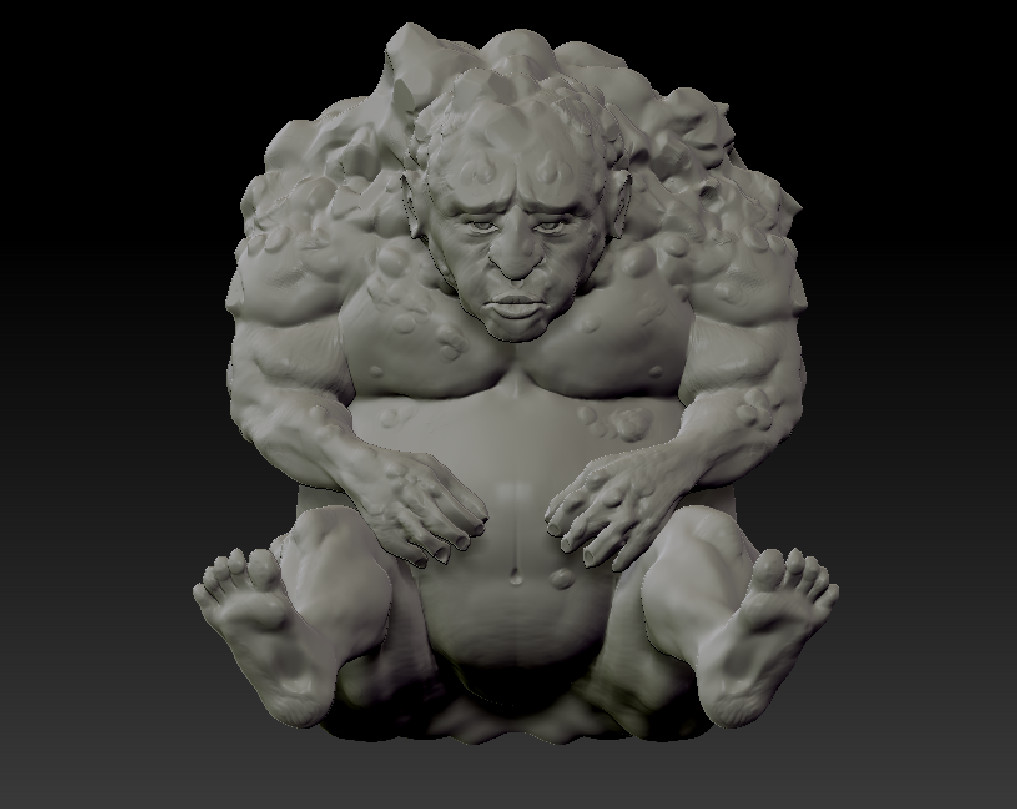
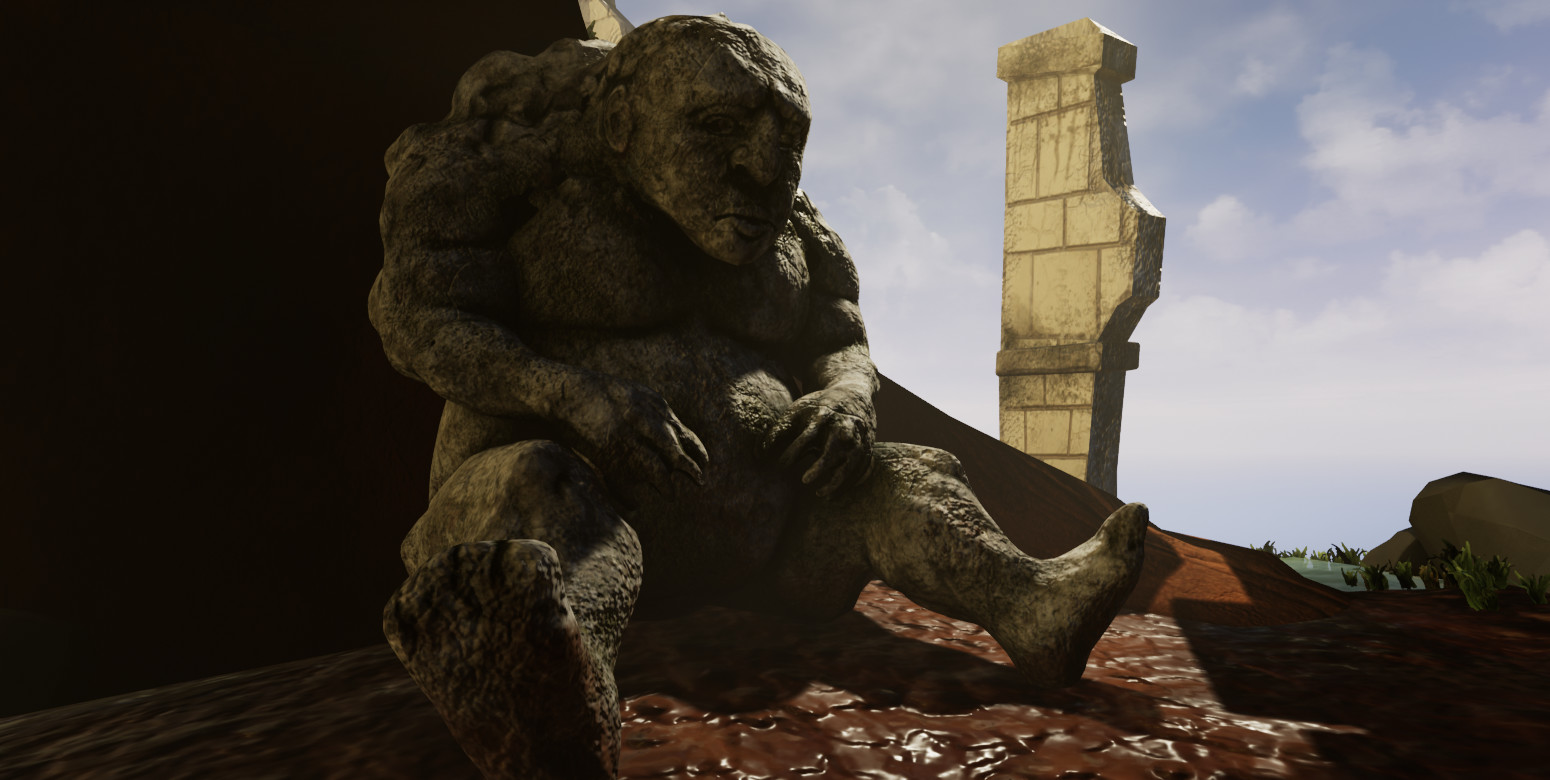
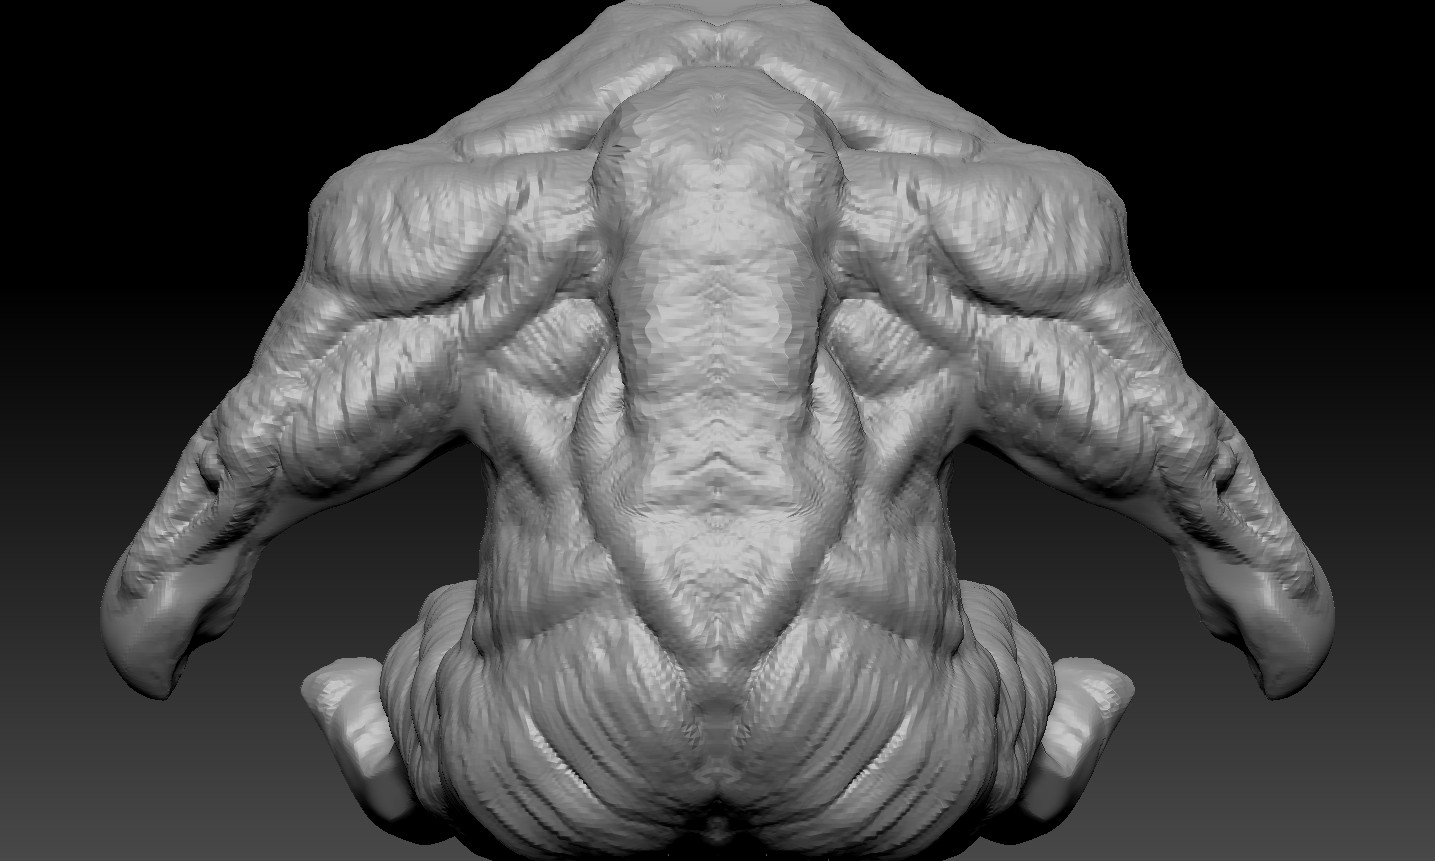
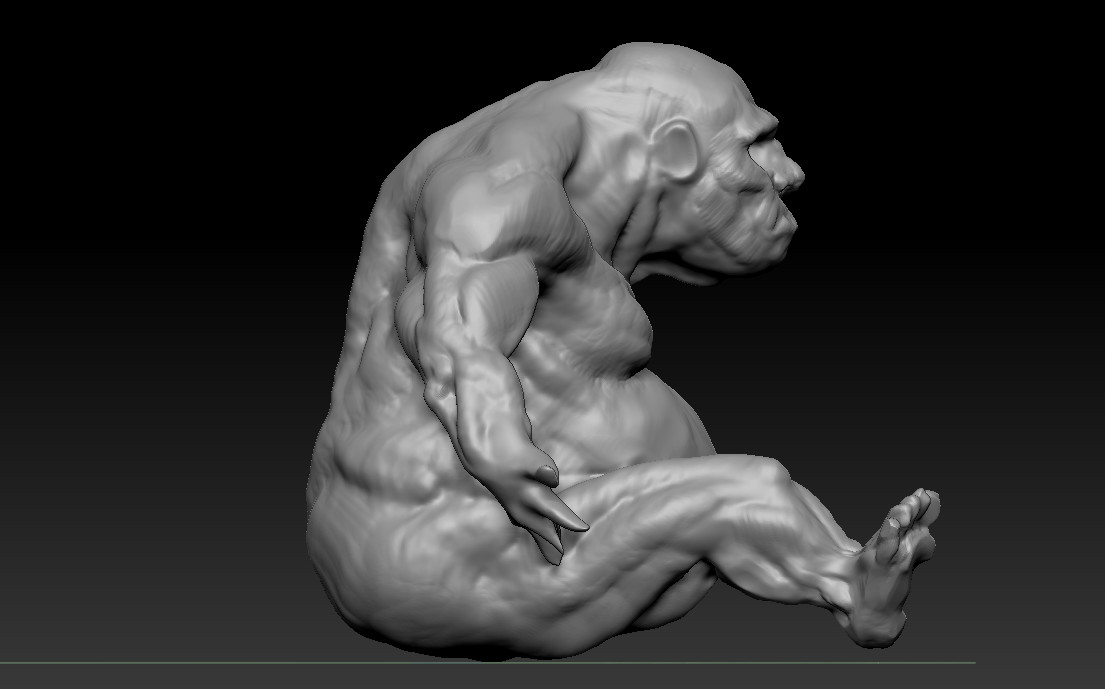
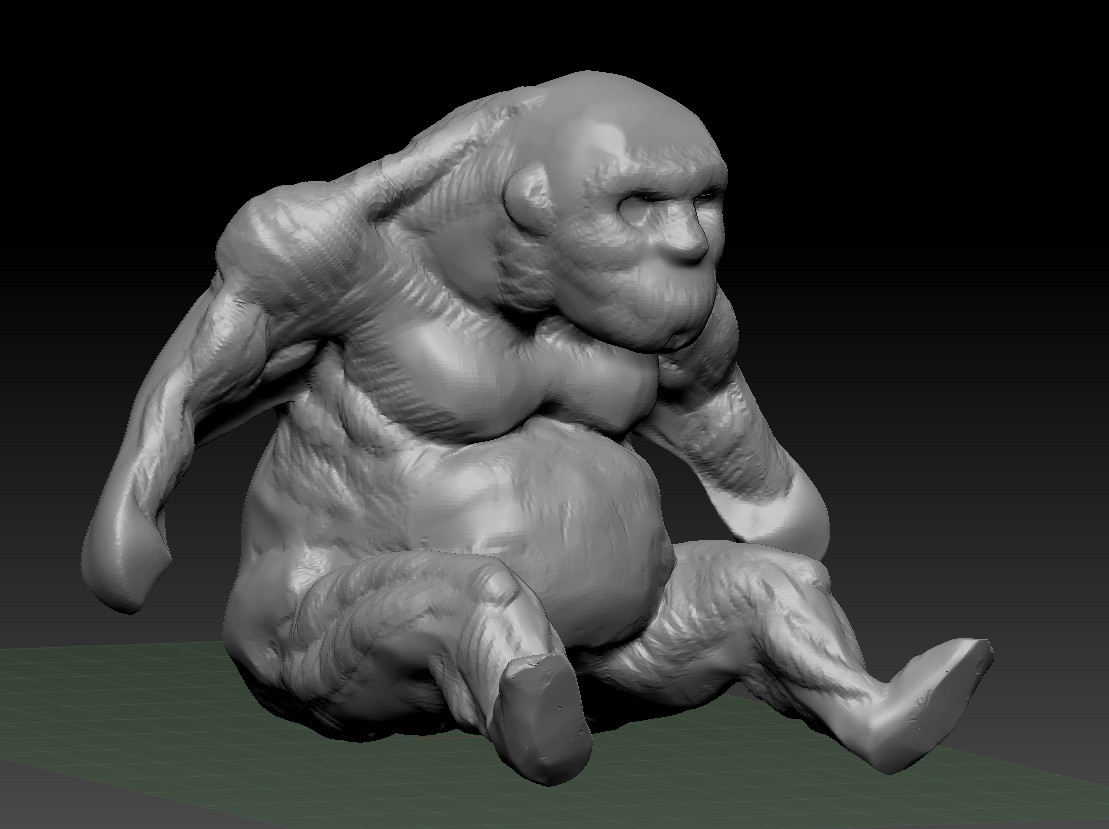
I've created a separate root mesh for my tree which helps the scene quite a bit. I modelled this in zbrush and created it's own material so that the bark texture goes in the right direction. We had a couple of sessions using speed tree in class. I tried to make a tree similar to the one in my scene so I could replace it came out ok. I wasn't quite sure how to change the leaf shape, I'm sure with a little research it wouldn't been too problematic, therefore I decided to keep the tree I already had. Instead I used the speed tree as an invisible mesh to help aid in the dappled lighting effect and my god rays in my lighting.
New Ruins
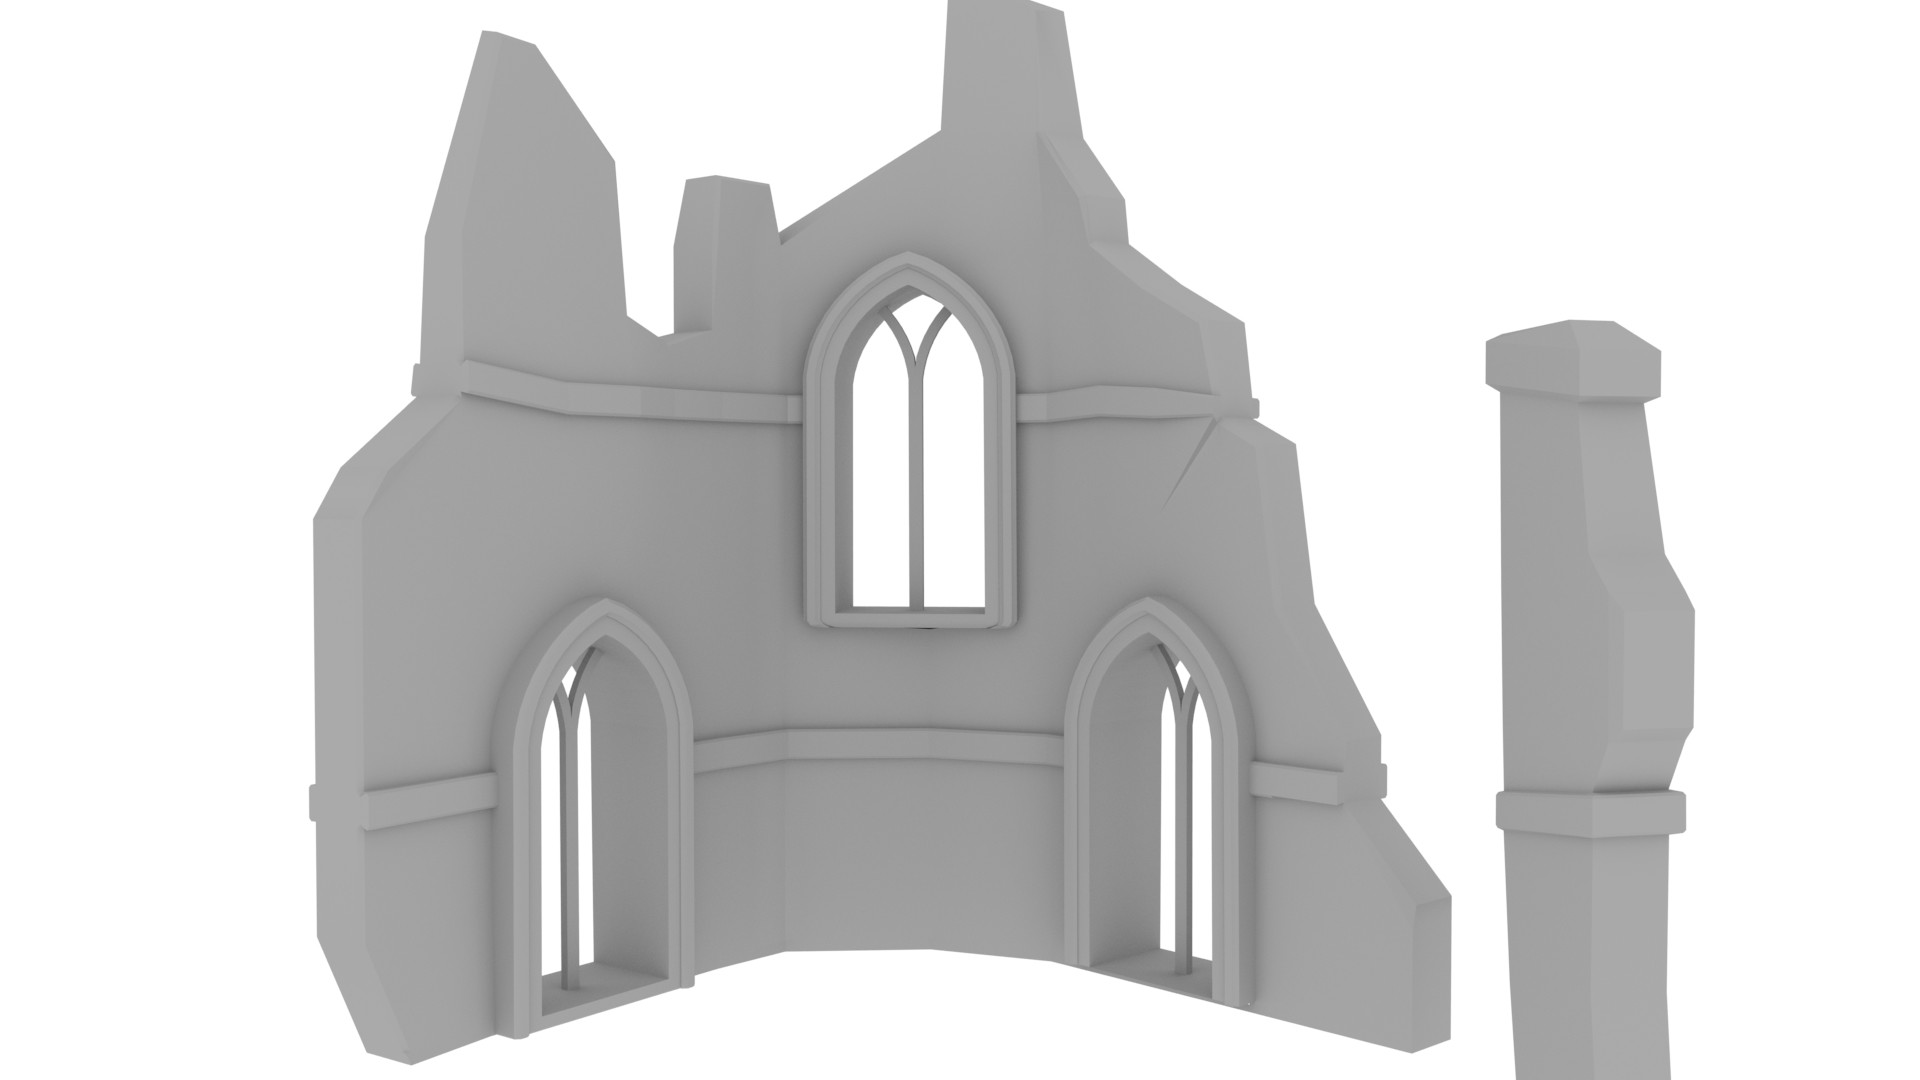
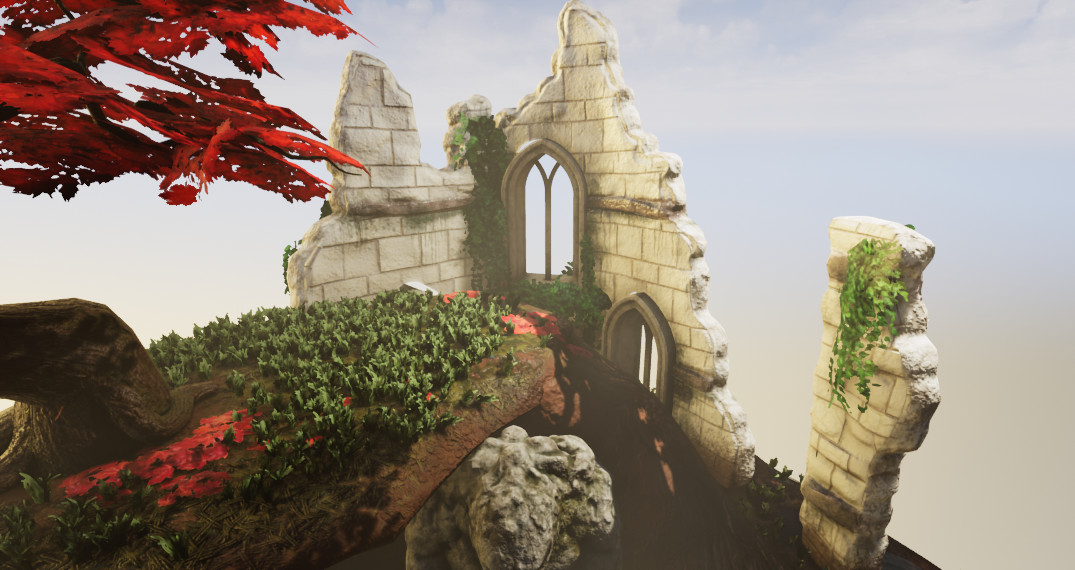
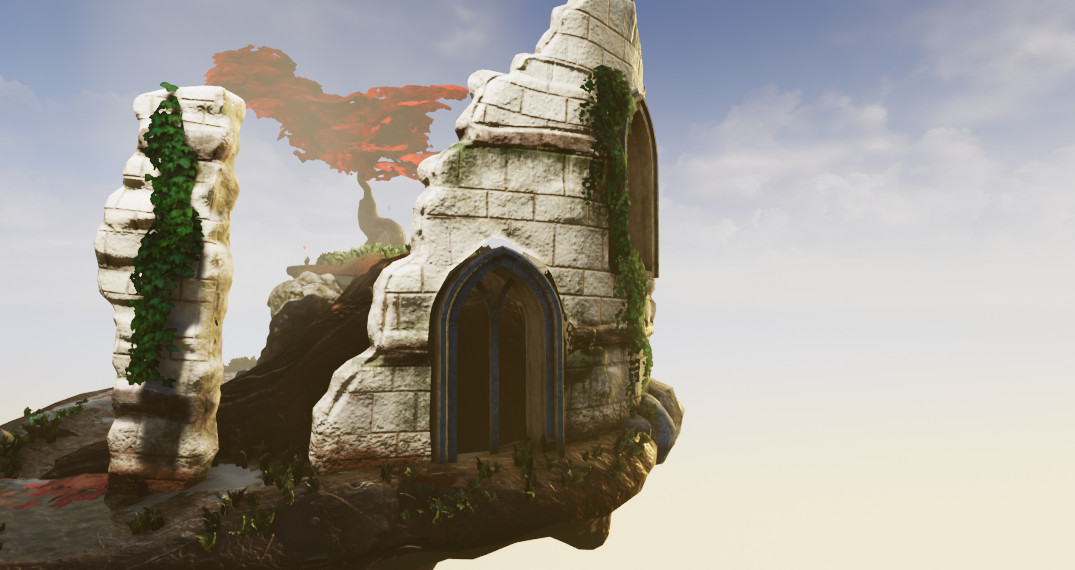
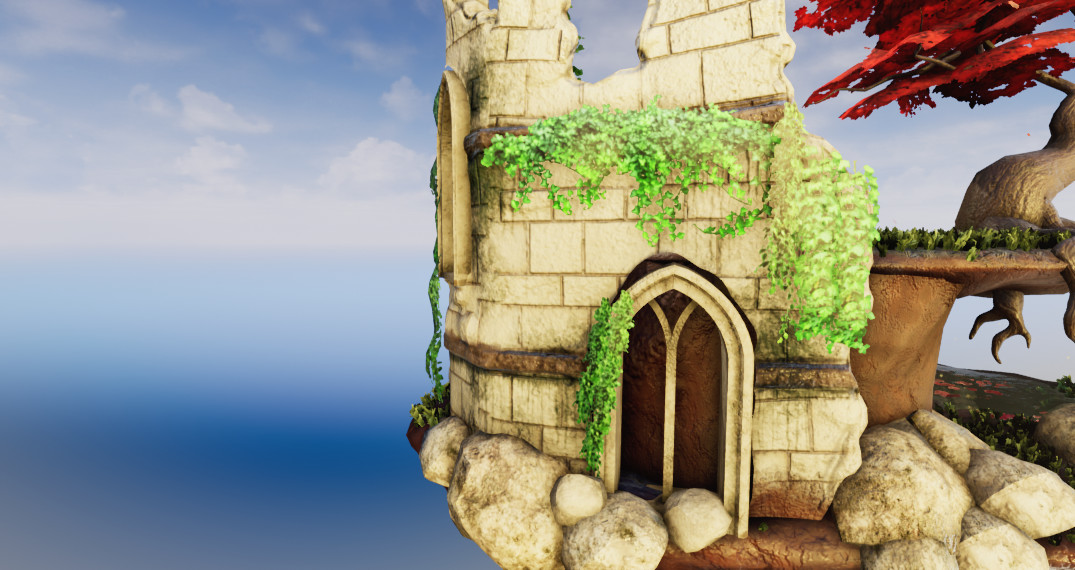
I had started working on remodelling my ruins which I rushed through just to get a better looking shape around the edges. This was very difficult to UV map as I had zremeshed it which creates loops rather than tidy topology to separate UVs with. I did try modifying this in maya too for cleaner topology but this was not much better. I ran out of time and hoped that maybe the old arches would suffice and resizie them to cover the gaping holes. These are by no means perfect, but give a better representation to what I wanted to achieve, unfortunately the final textures are not where I want them to be and this is due to running out of time. I would like to re-do the whole asset in my spare time and produce something much better.
Errors
I wanted to spend the extra few days on the ruins however I encountered an error Worldinfo_0 in unreal. I didn't realise how severe this error was until our studio assistant saw it. Basically my lighting was not baking properly. Even though I had baked the lighting this error continued to pop up.

I spent the last 2-3 days trying to fix this error, from migrating my assets to a new scene, switching on and off lighting settings etc. It took a couple of the studio assistants/higher year students to put their heads together and figure this error out in my scene. It turns out it was a combination of my grass mesh, a directional light and a lightmass setting. We had to delete all these and start over to fix the error, a solution only found out on the last afternoon of class.
This resulted in my lighting looking completely different to what I had been working with and I spent the rest of that afternoon trying to fix it as best I could to look somewhat similar to what I had created with the broken lights.
Conclusion
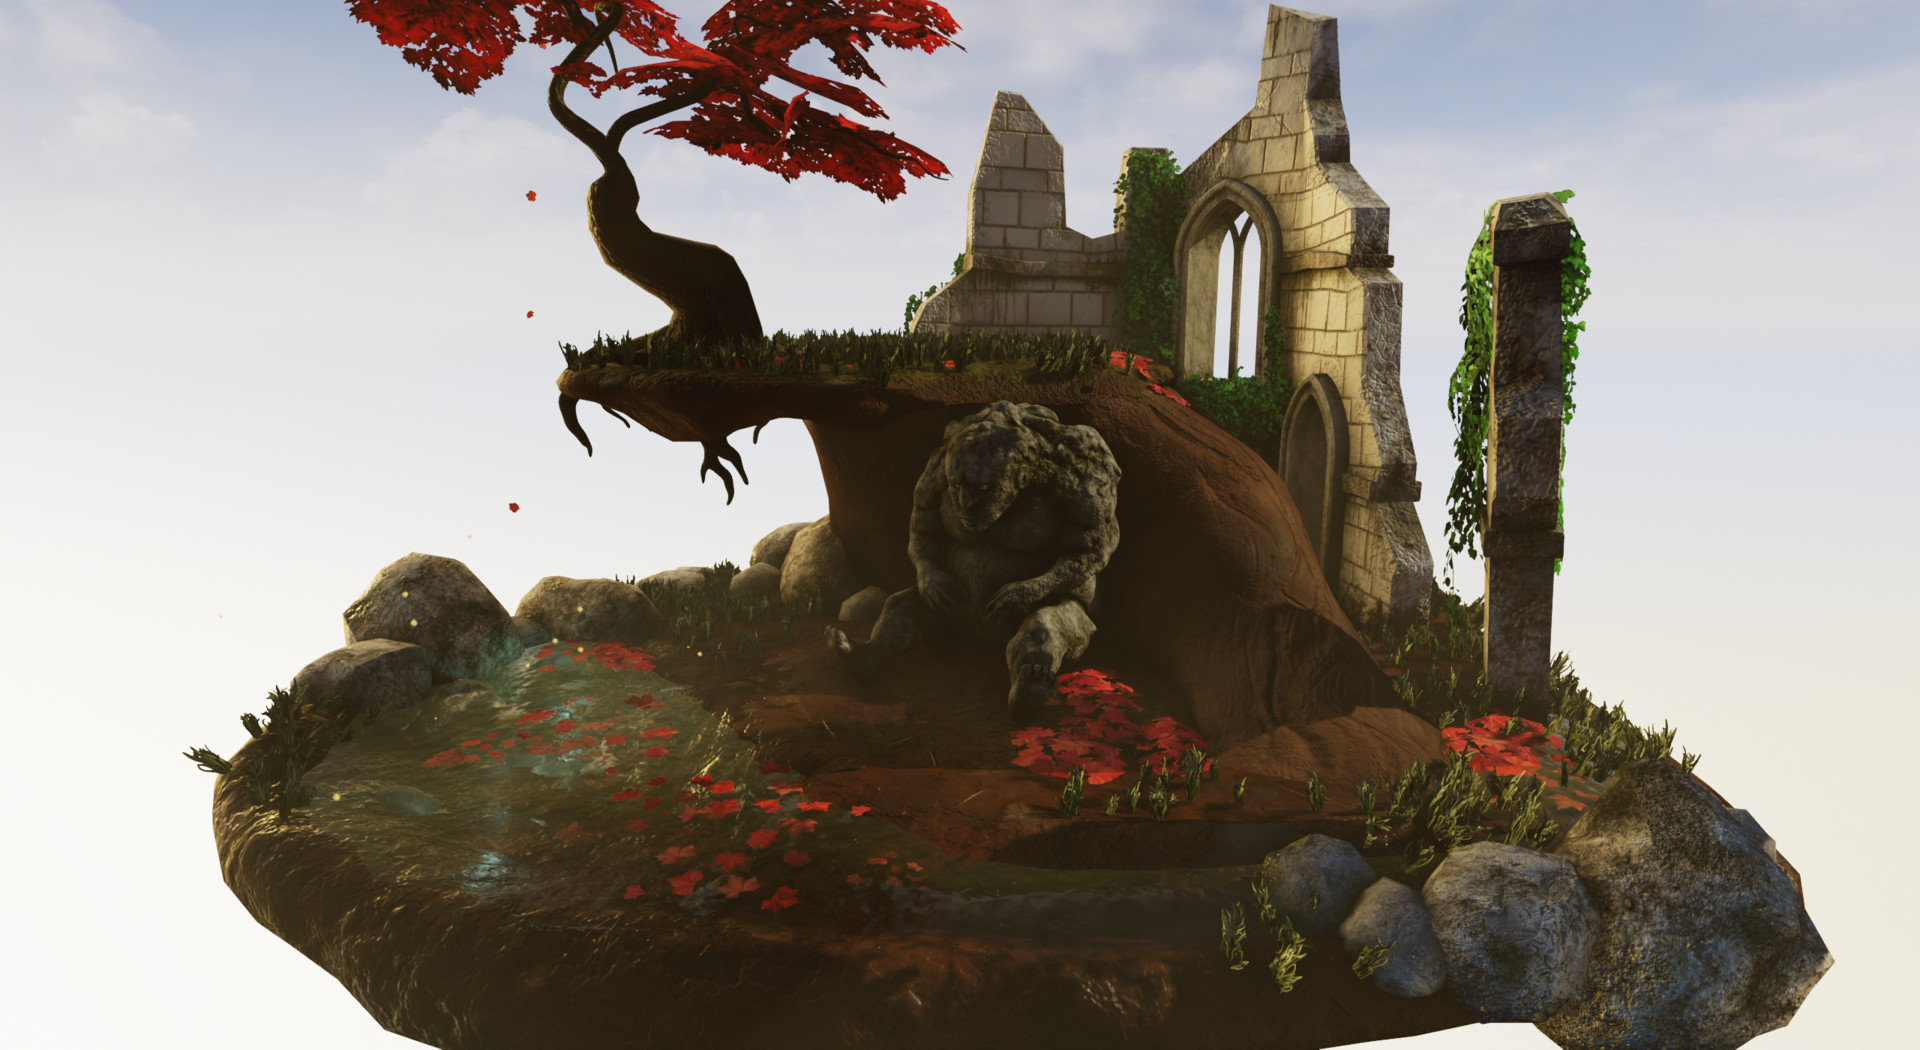
In conclusion, I'm really pleased with my end result despite its flaws. I did not think a few weeks ago I could create a passable sculpt in Zbrush or create a scene as pretty as it is in unreal. Of course it is not perfect and there are plenty of things I need to work on, I'm really disappointed my lighting was not baking properly and I didn't realise this for so long as this has greatly affected the final result. I am more than happy with the idea of continuing working on this scene in my free time. As I worked through this project my models and textures became better and I believe I could easily go back and create a better mesh or texture for the items I had started with first in the project.
This project over all has helped build confidence in my abilities to pick up and apply new software and information and also my skills as a game artist. I'm looking forward to creating more environments in the future and more personal dioramas to experiment and practice my skills.